Provide Support (Inbound): Campaign Setup Guide
Last updated: July 16, 2026
Prerequisites
An Outcraft AI account you can create or edit campaigns in
Access to your phone system or carrier to set up call forwarding from your business line
A Slack workspace or support email address for human hand-offs
Your company FAQs, support macros, and SOPs to feed the agent
This guide is for inbound campaigns — when customers call you. Inbound campaigns answer customers who reach out to you, so the flow is shorter than an outbound one. The objective you pick when creating the campaign decides which steps appear.
1. Create the campaign
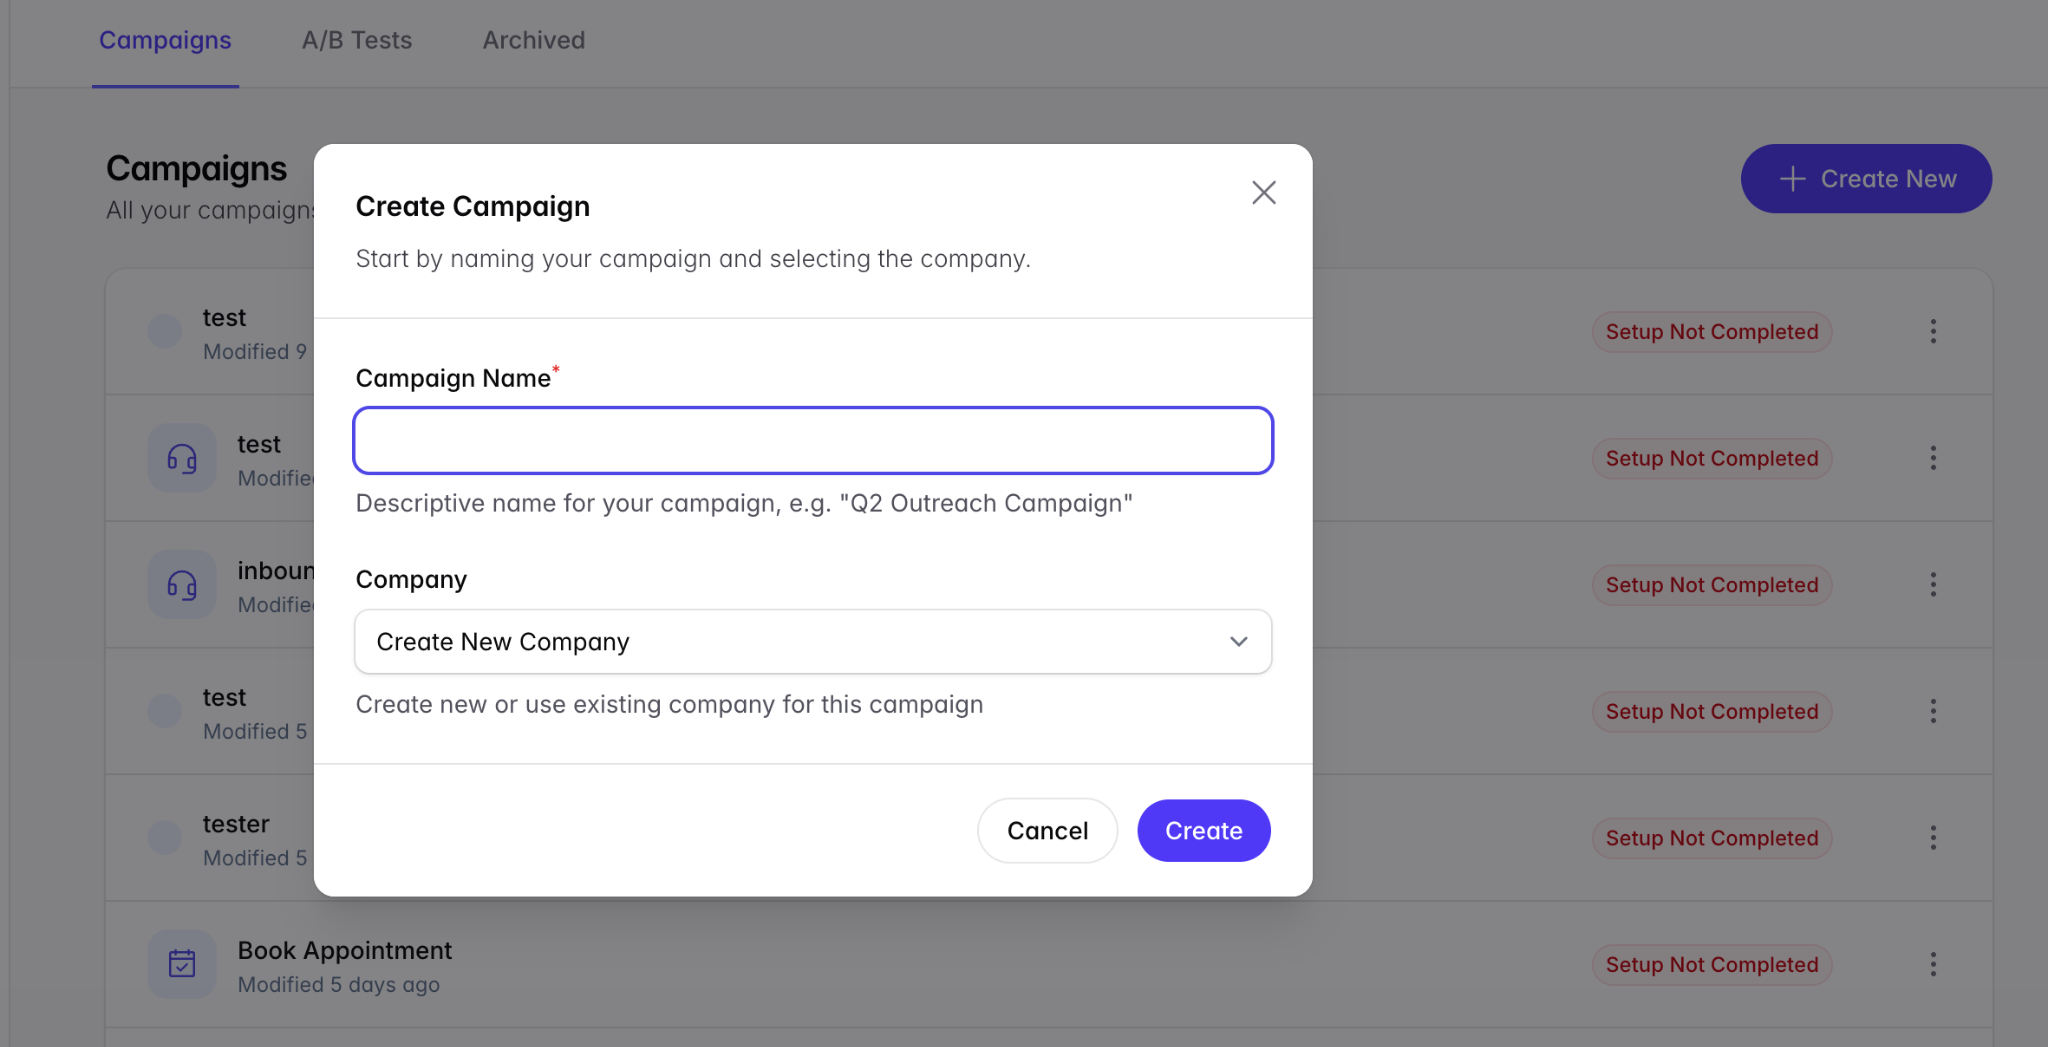
Go to app.outcraft.ai/campaigns and click Create New.
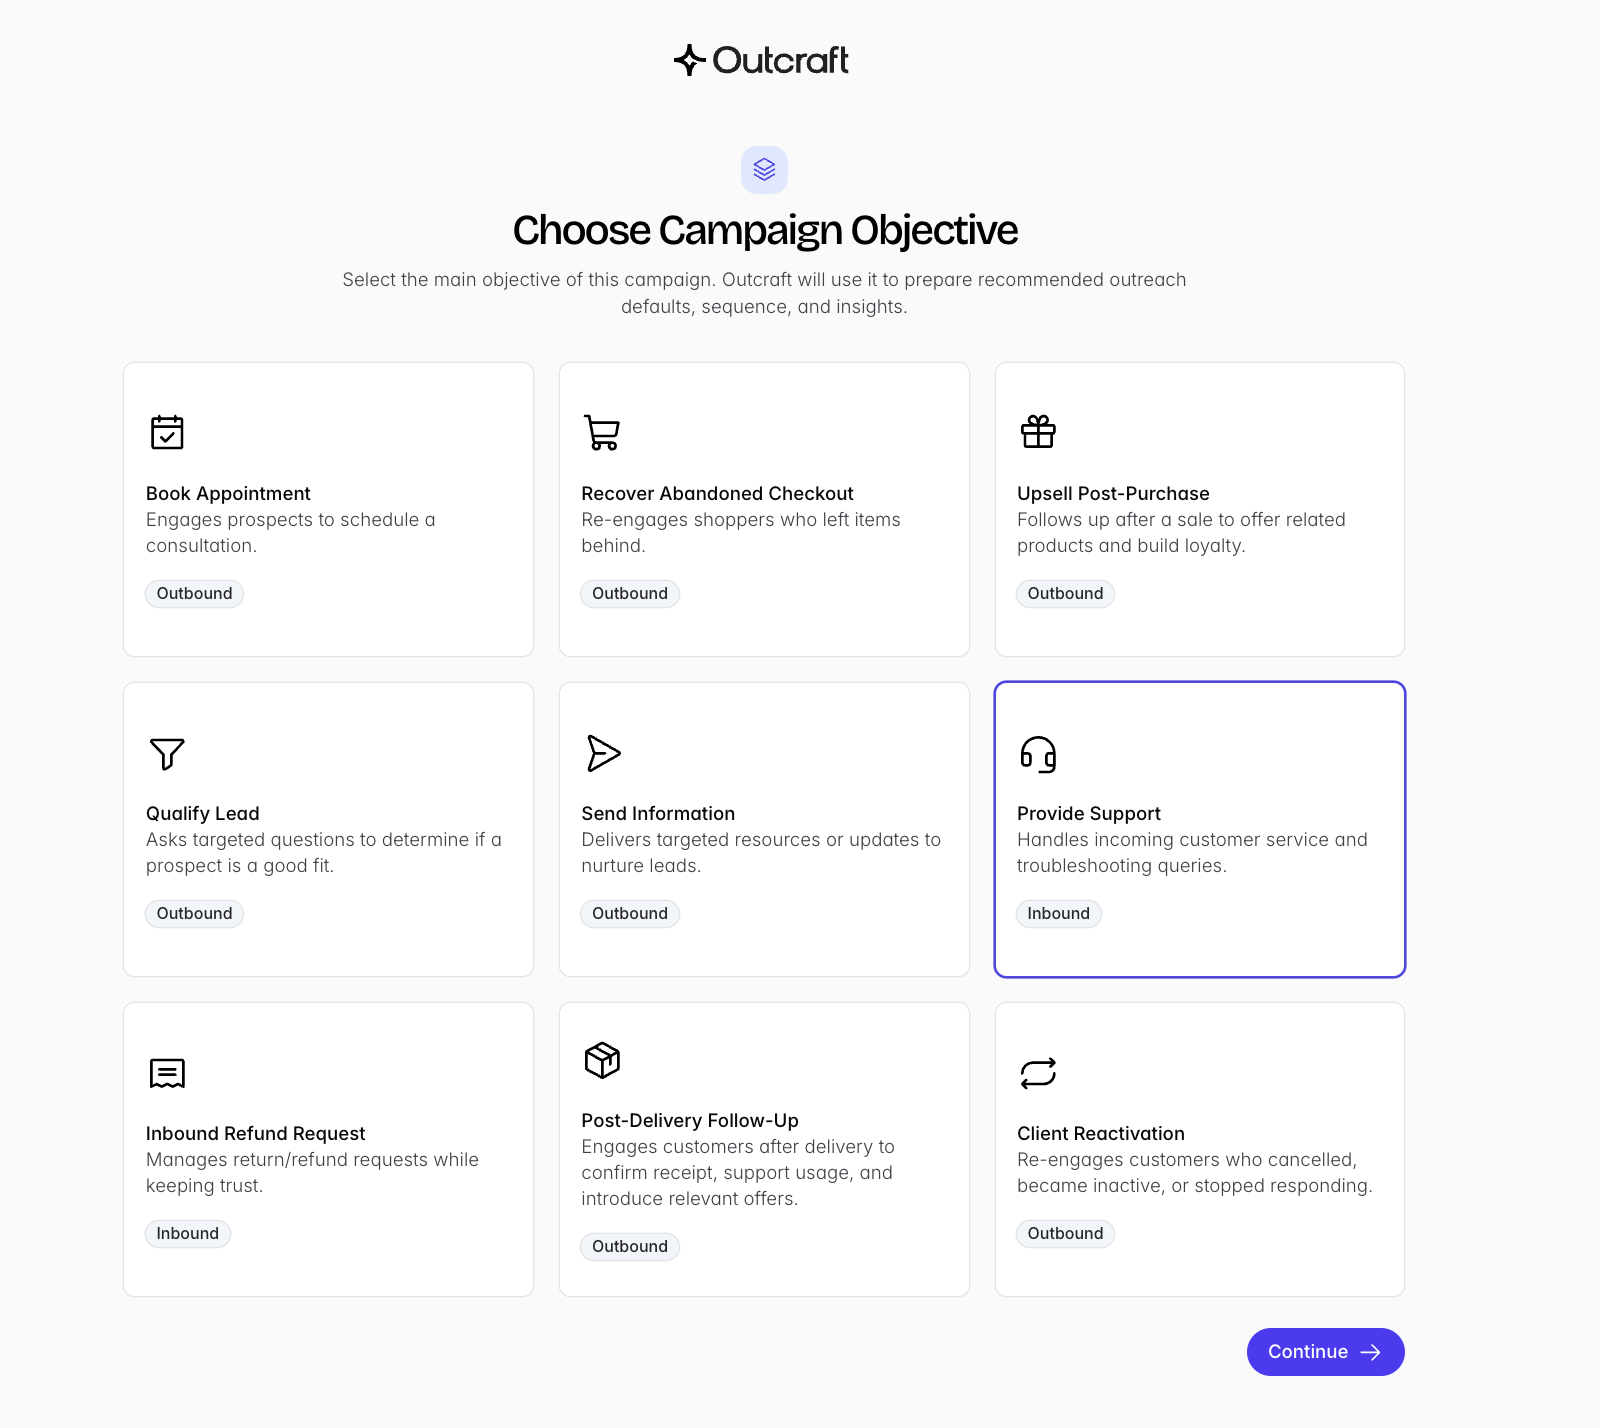
Select Provide Support.
2. Company profile
Set up Identity, Industry, and Compliance as described in Setting Up Your Company Profile.
Two inbound-specific notes:
Identity: for a support line, the agent says your brand name on every call — if it’s easy to mispronounce, use the Difficult to Pronounce toggle with a phonetic spelling.
Industry: the FAQs are especially important for inbound; they provide the context your agent answers from.
3. Campaign Brief
Write the agent’s brief: its support role, what it can and can’t help with, its tone, and when to pass to a human. Follow Writing Your Campaign Brief, plus one inbound-specific section:
Discovery Questions: add probing questions you want the agent to ask to expand on the information, FAQs, and other data you’ve provided.
4. General Settings — hand-offs matter most
For an inbound support line, Hand-offs are the part that matters — follow-ups and sendable links are oriented toward outbound offers and can be left at defaults.
Let the AI pass a conversation to a human when it can’t resolve something or the caller asks. Choose how you’re notified (email and/or Slack) and set the notification address. For Slack setup, see Setting Up Slack Integration for Human Agent Handoffs.
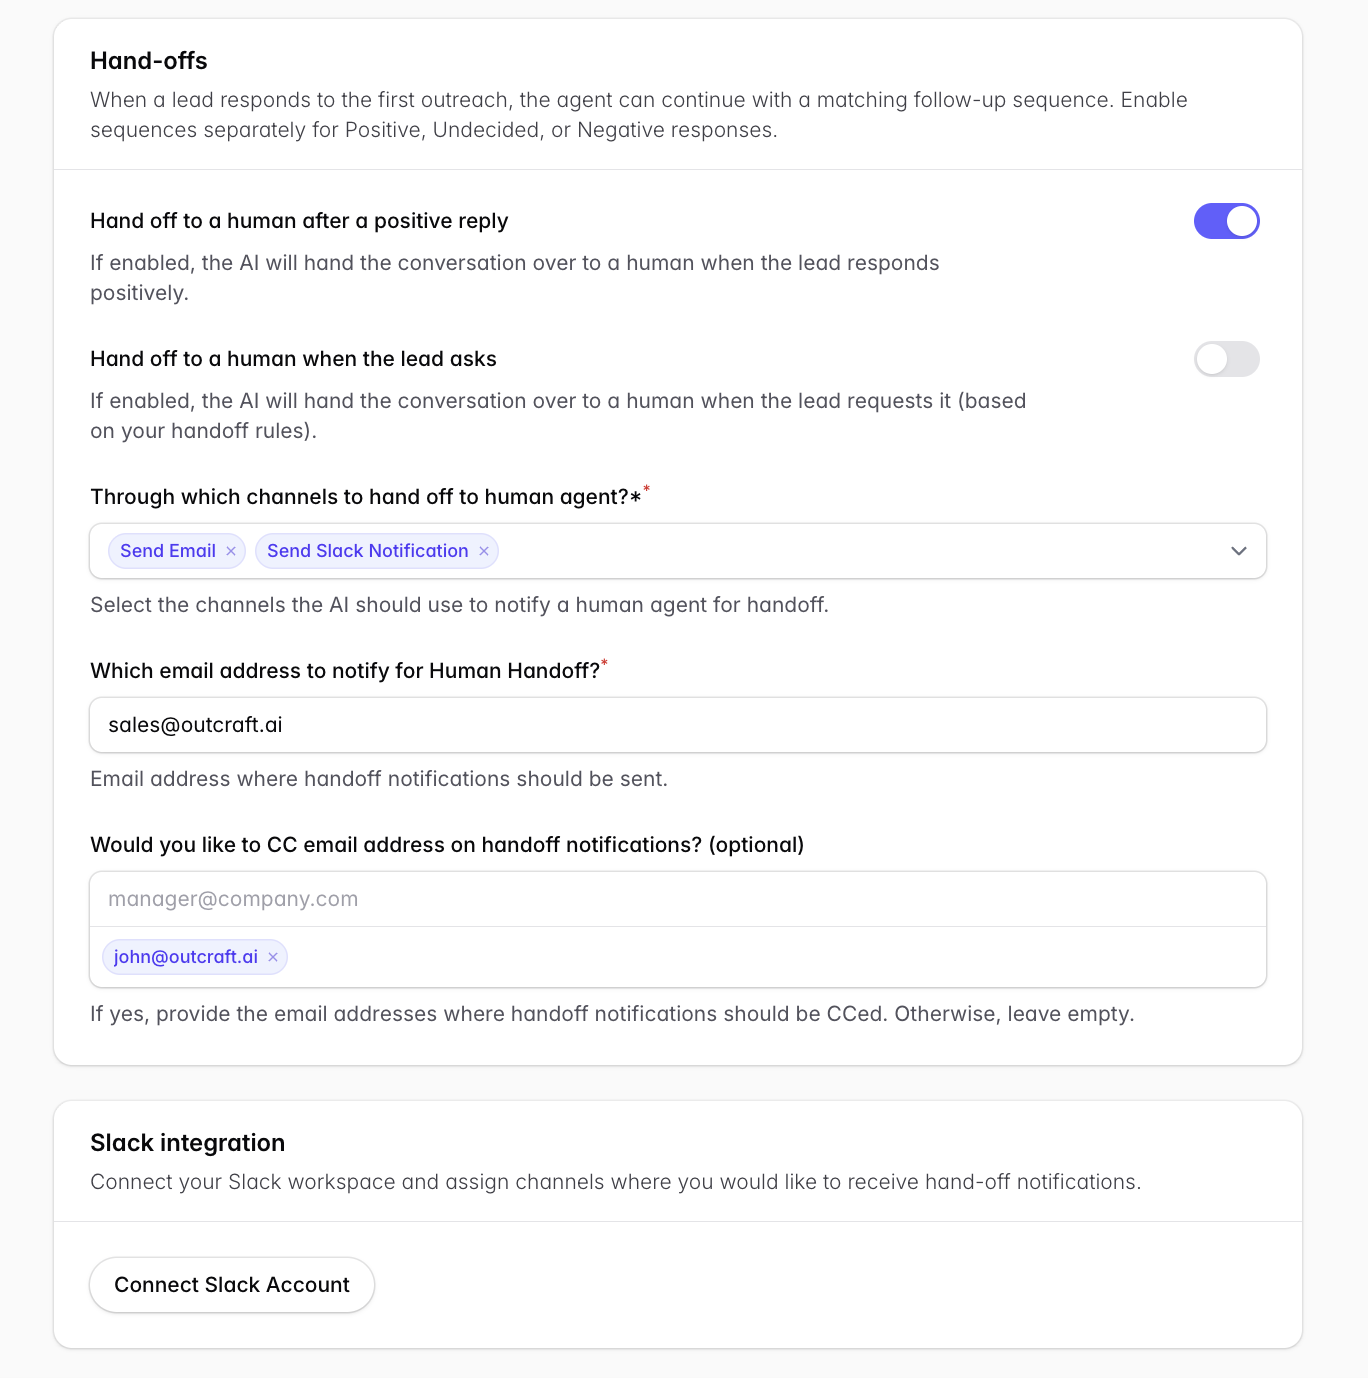
Watch out: for inbound support, turn hand-offs ON and pick at least one channel (email or Slack). Without it, a caller the AI can’t help has nowhere to go.
5. Schedule
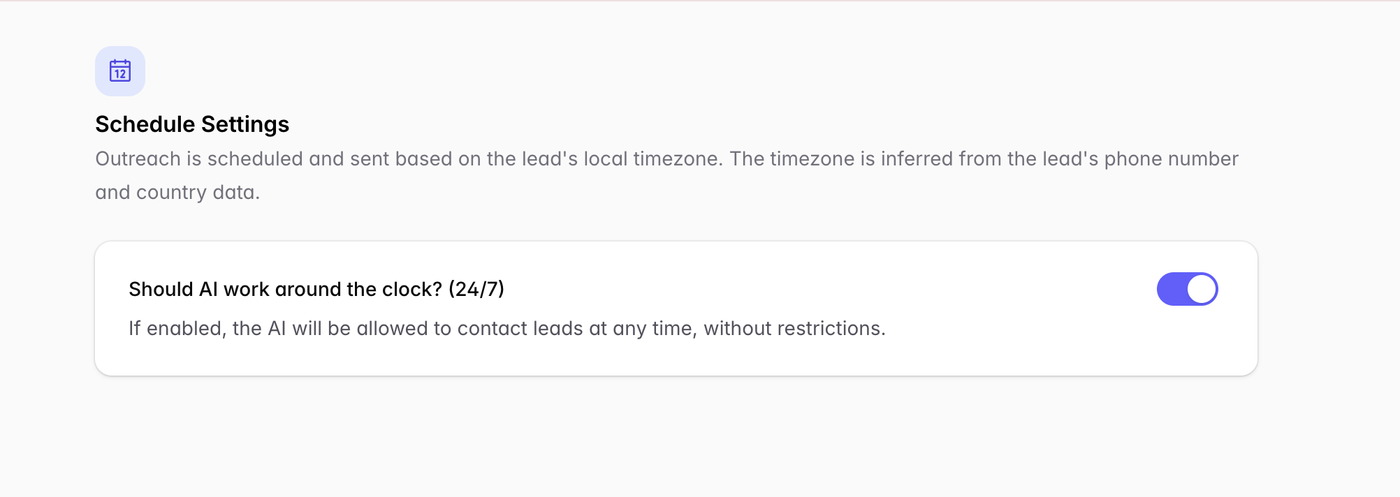
Controls when the AI is active. For an always-on support line, enable 24/7 so callers reach the agent at any hour. To mirror staffed hours instead, turn 24/7 off and set days and a start/end window.
6. Outreach Channels
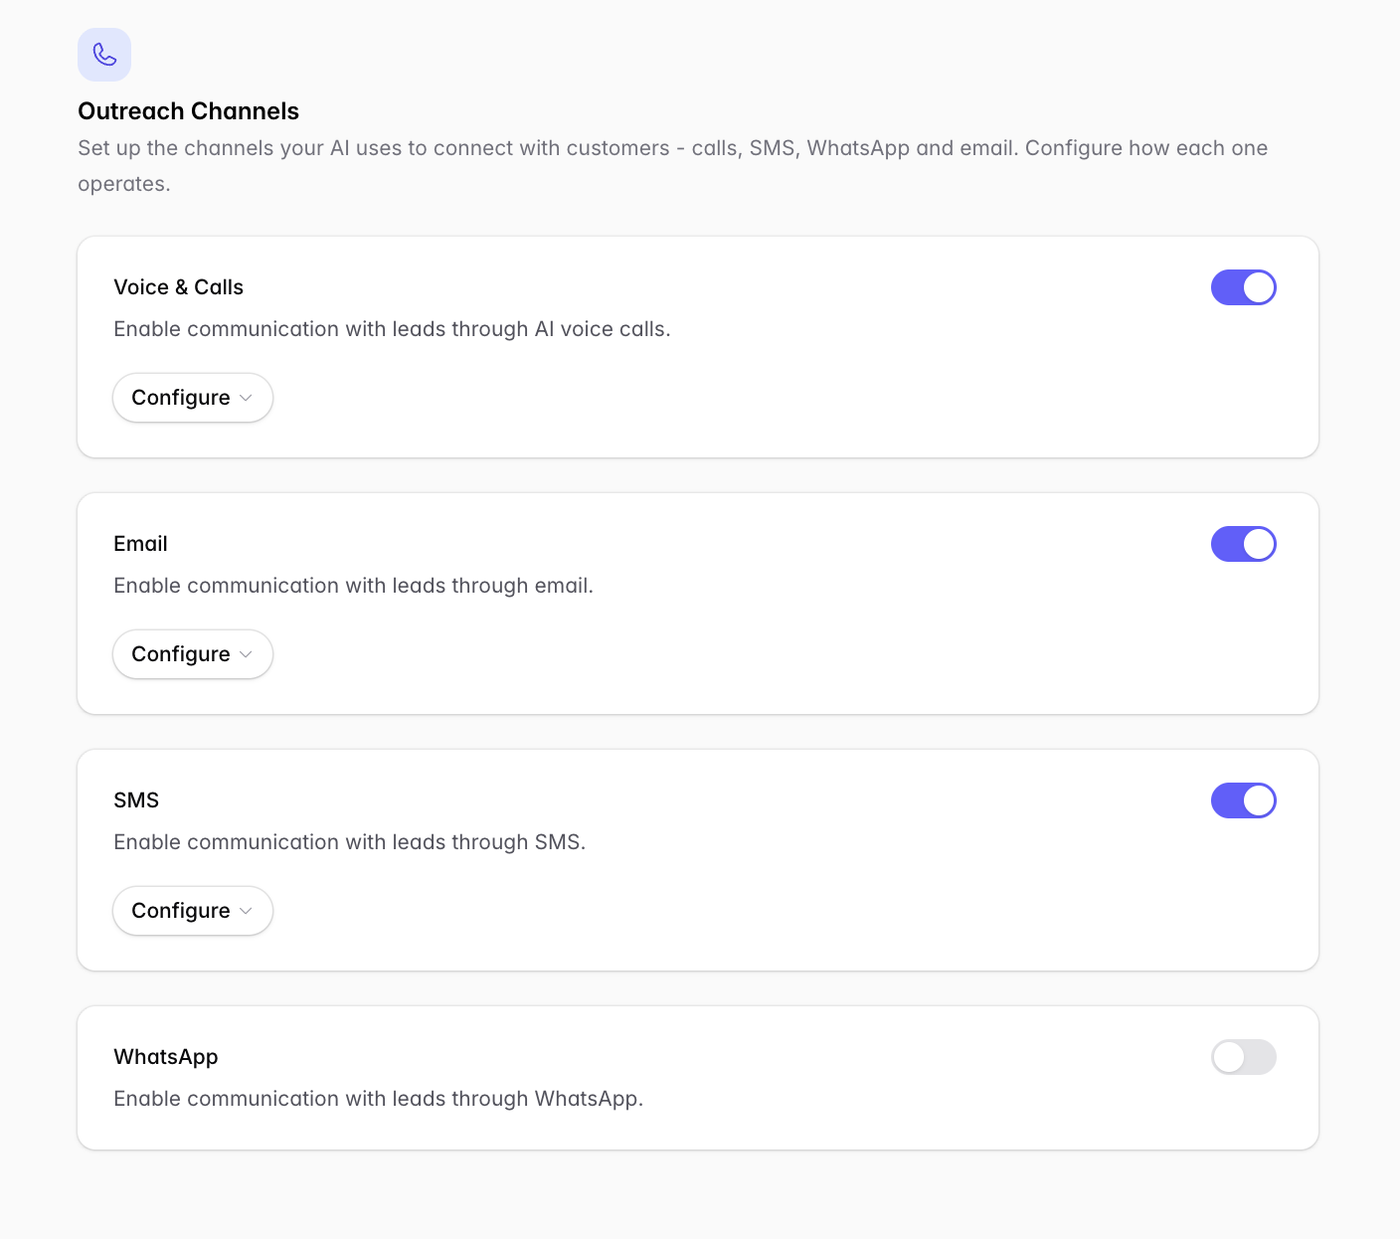
For direct inbound support, Voice & Calls is the one you need. Email, SMS, and WhatsApp are optional and complementary — enable them only if you want the agent to also use those channels (“Let me send you a link to our site”, etc.).
Channel requirements (WhatsApp/Meta account, US A2P registration) are covered in Configuring Outreach Channels.
7. Interaction Evaluations
Define what the agent should detect or extract from each conversation — see Setting Up Interaction Evaluations.
8. AI Agent
Configure name, voice, and languages — see AI Agent Configuration.
9. Phone number & call forwarding (unique to inbound)
For an inbound line, callers dial your business number, and your phone system forwards the call to a single number you create in Outcraft, where the AI answers.
Click Add Phone Number. Create one number (choose provider and country, then Submit).
In your own phone system or carrier, set call forwarding from your public business line to that Outcraft number.
Publish your own business number to customers — keep the Outcraft number internal.
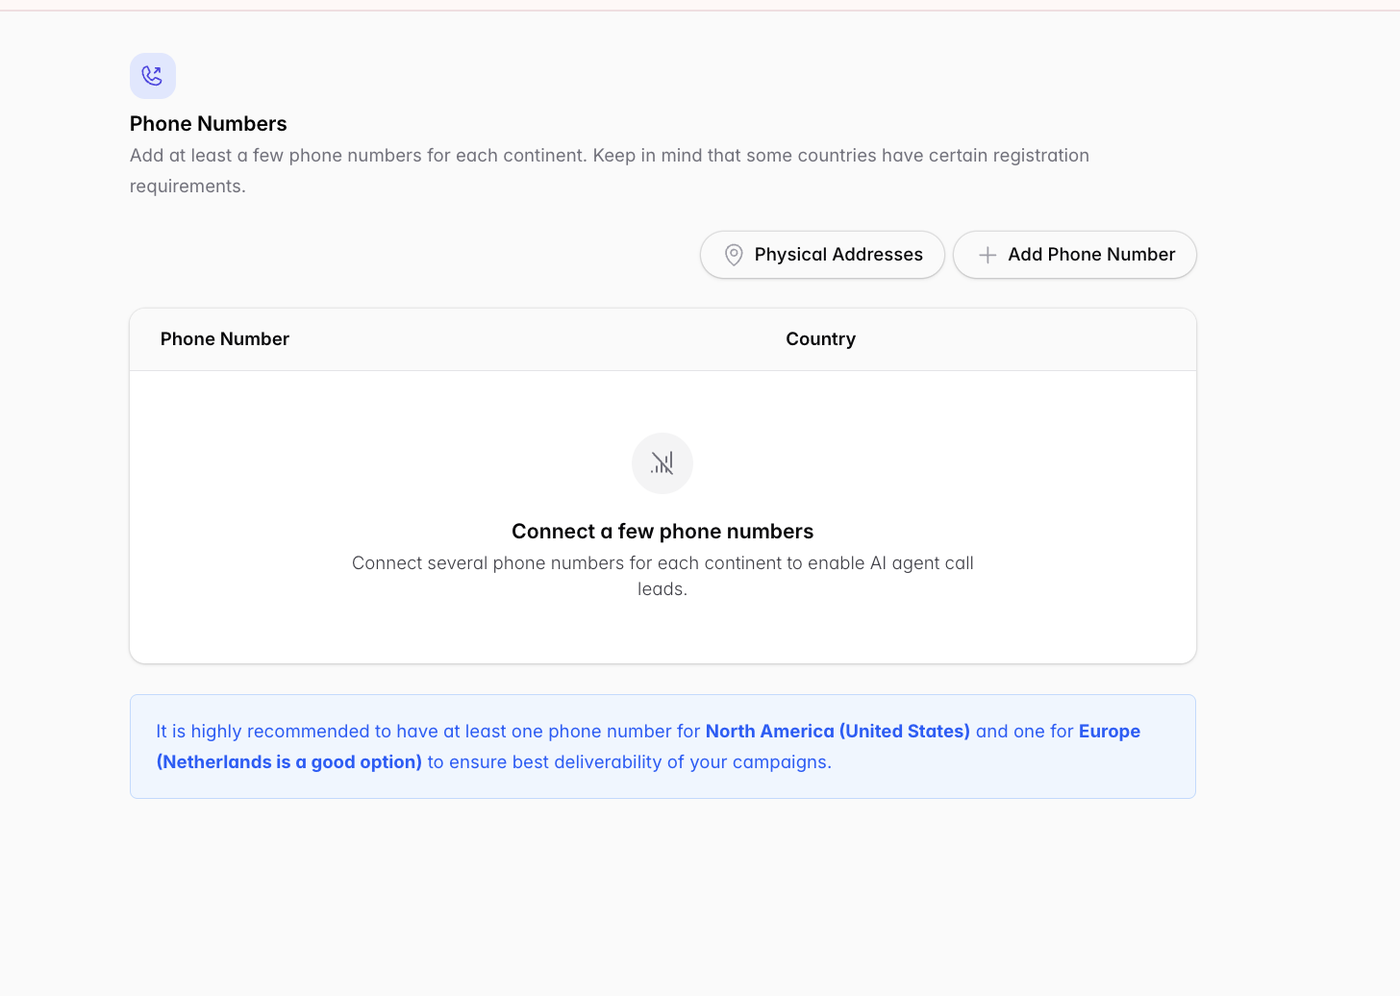
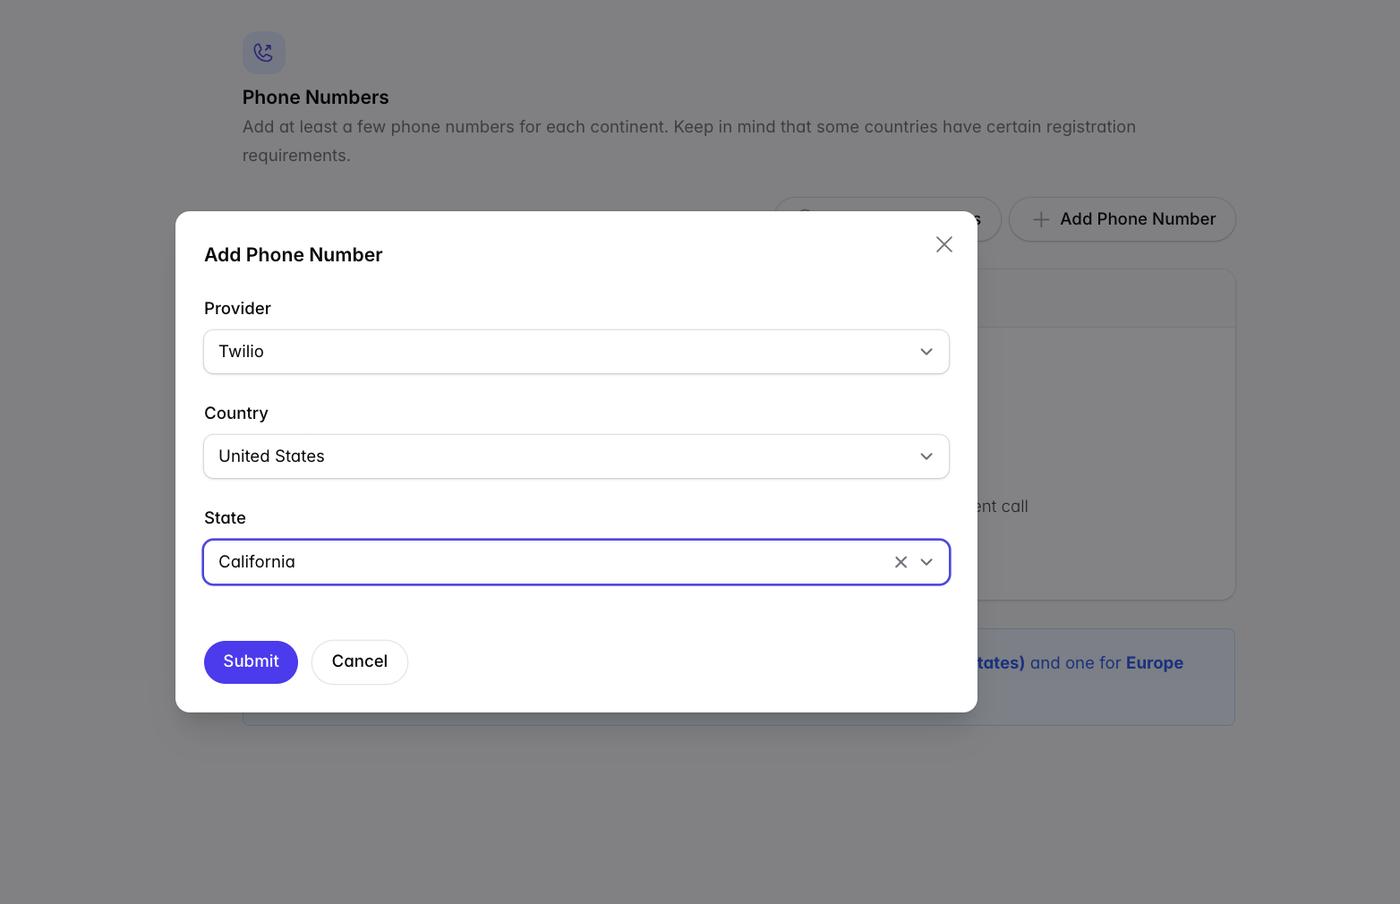
Watch out: create only one number, and don’t share it directly with customers. Give out your own business line and route to Outcraft via forwarding. Unlike an outbound campaign, you don’t need multiple regional numbers — inbound callers always reach you through your own forwarded line.
How to verify: (1) use the Test button in the setup footer to confirm the AI answers the Outcraft number, then (2) place a real call to your business line and confirm the forward lands on the AI. If the AI answers the direct number but not your business line, the forwarding rule is the thing to fix.
Registration requirements by region are covered in Adding Phone Numbers.
10. Email accounts
If the agent will send emails, connect a mailbox — see Connecting Email Accounts.
11. Review & launch
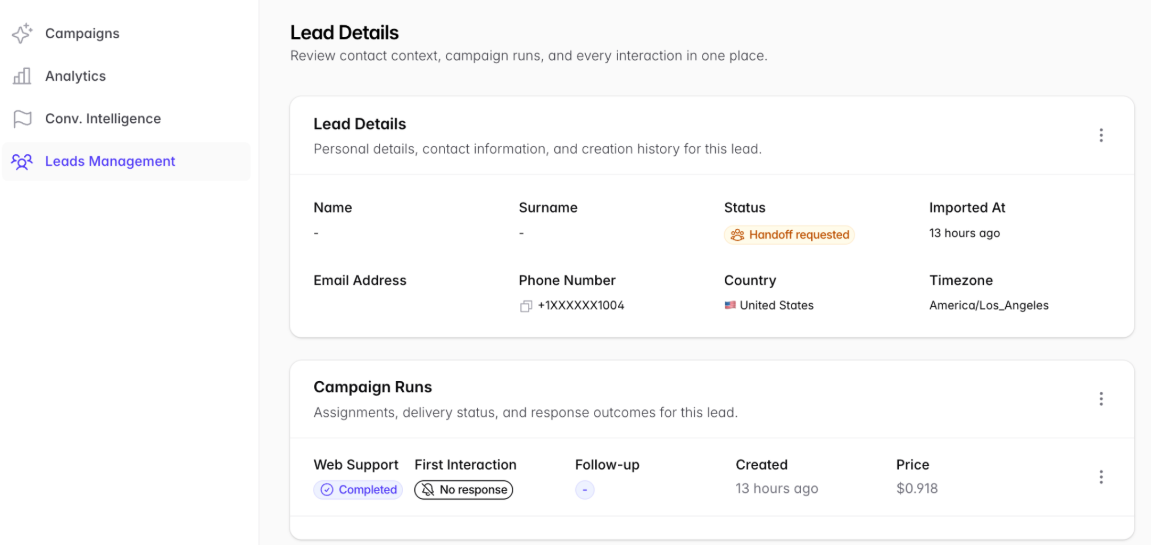
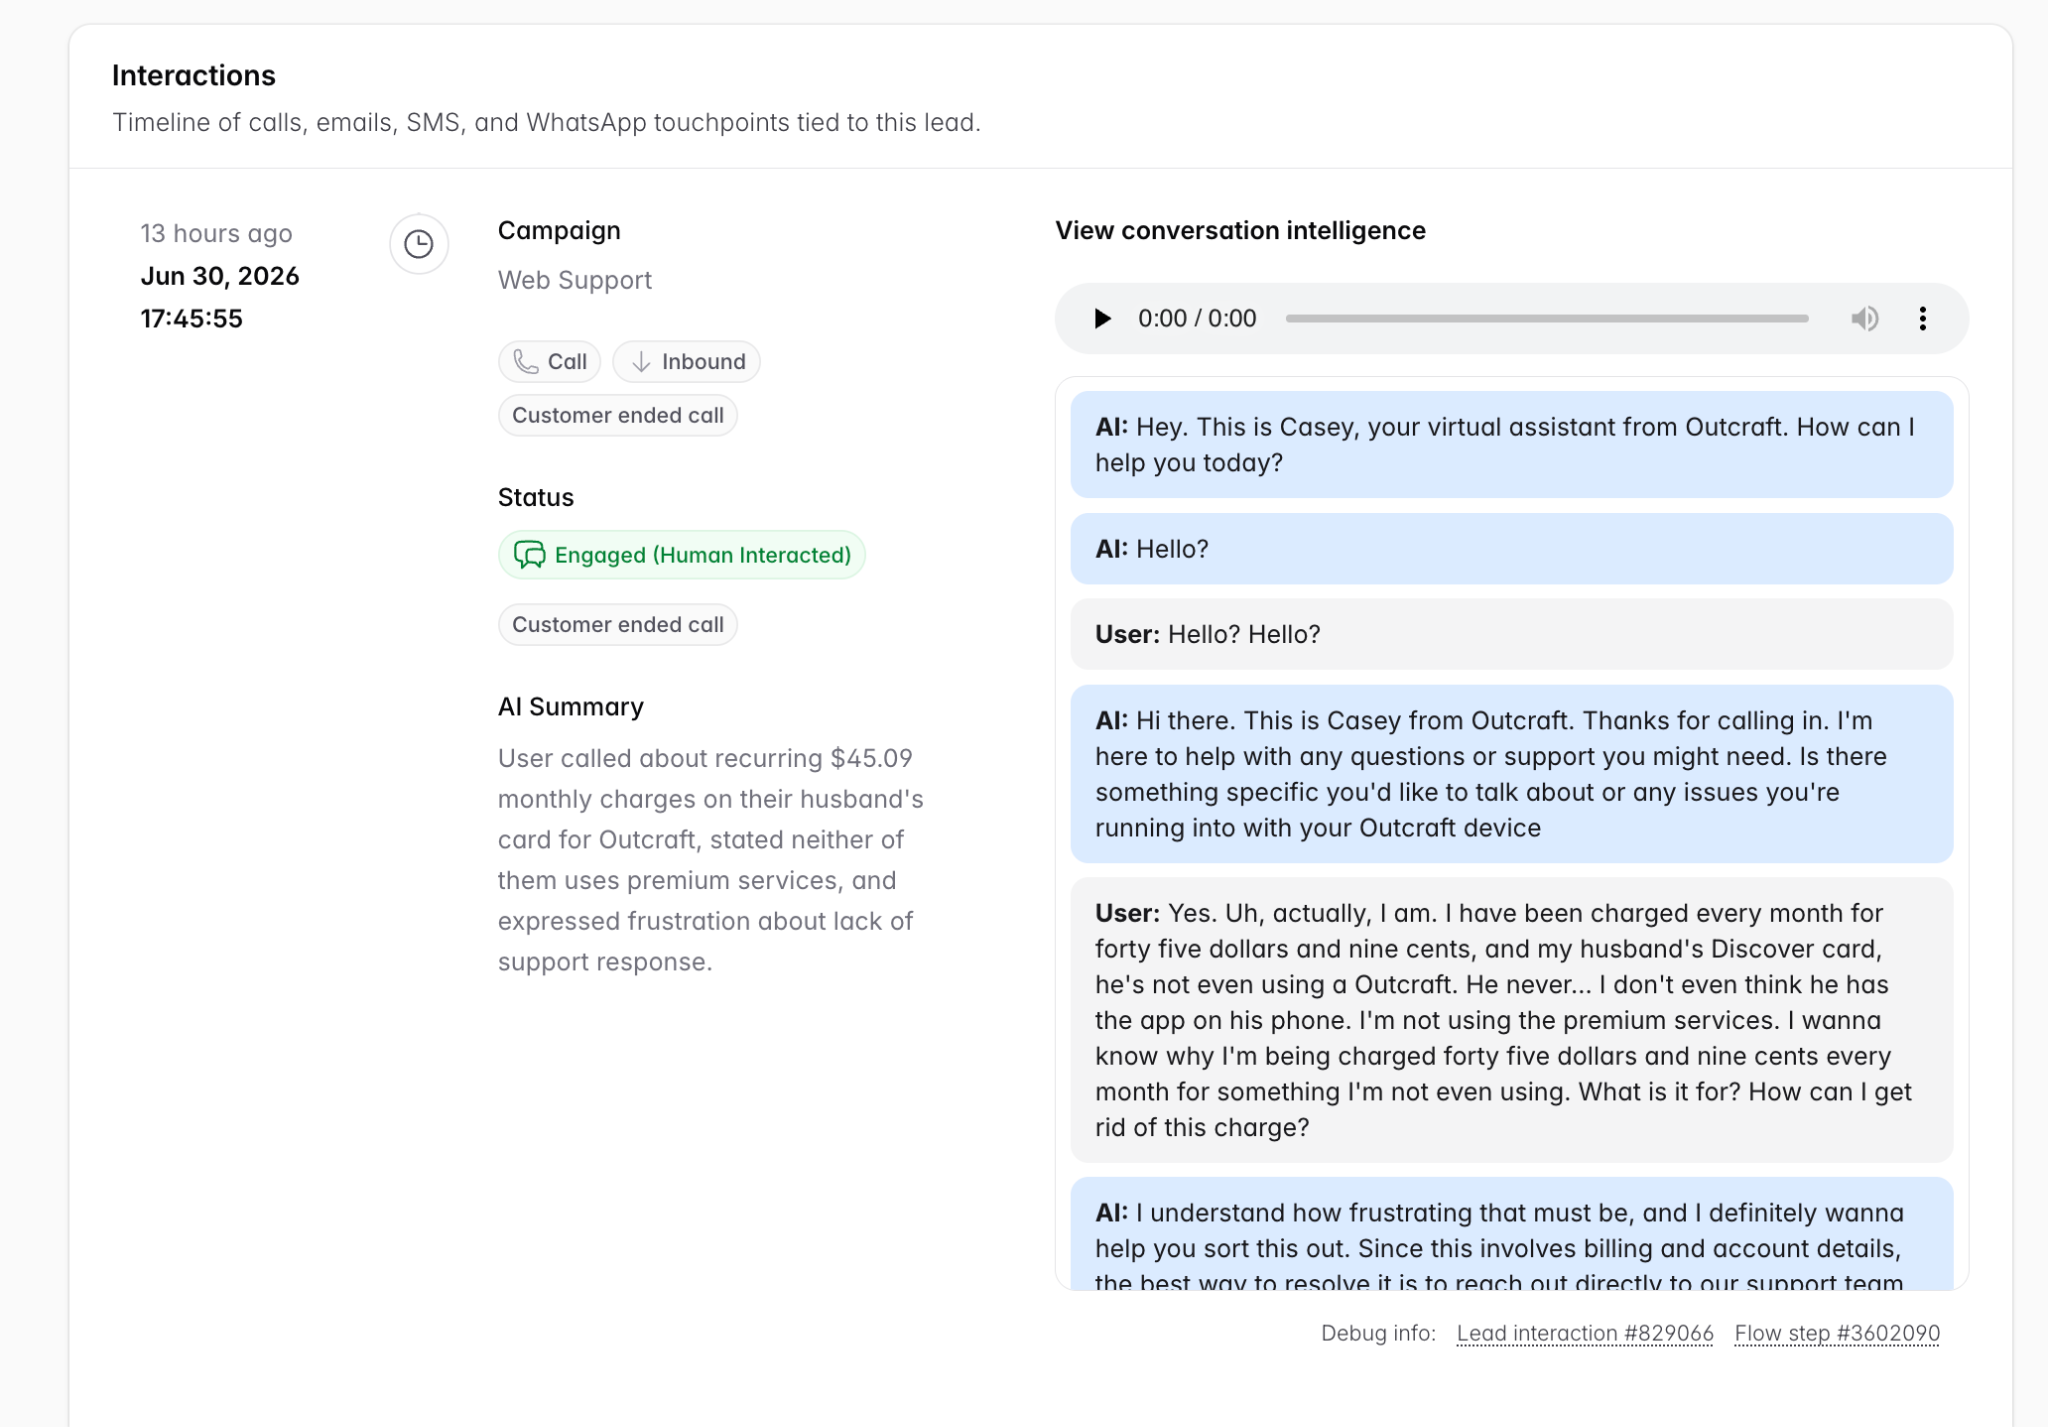
Review and launch. Inbound conversations then appear in Leads Management (Campaign Runs, Interactions, and Hand-offs tabs), where you can confirm the agent is answering and escalating as expected. Watch the Review Required count early on.
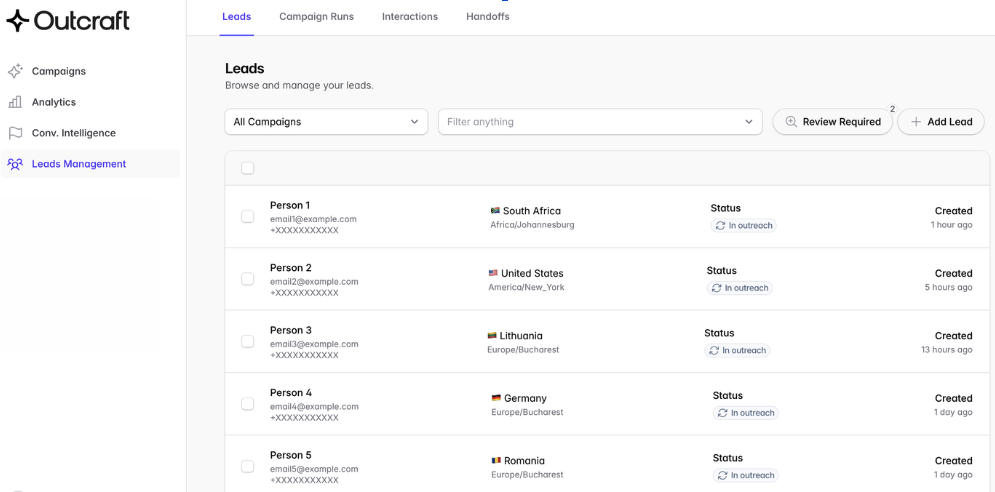
Once calls come in, you can open each conversation to listen to the recording, read the transcript, and view metadata.