Qualify Lead: Campaign Setup Guide
Last updated: July 17, 2026
Prerequisites
An Outcraft AI account you can create or edit campaigns in
Administrator permissions on your lead source (HubSpot, Klaviyo, Salesforce, Attio, Microsoft Dynamics, GoHighLevel, Custom API, or a CSV of leads)
Your qualification criteria — the questions that decide whether a lead is a fit
Admin access for the sending mailbox (Google Workspace admin, Microsoft 365 admin, or IMAP credentials)
The Qualify Lead campaign type is designed for direct follow-up after a prospect fills out a form on your website, or for working through a list of prospects. Outcraft calls or messages each prospect and attempts to answer a set of qualifying questions you define, so you know which leads are a good fit.
1. Create the campaign
Log in and go to app.outcraft.ai/campaigns.
Click + Create New and type a name for your campaign.
Select Create New Company, then Create.
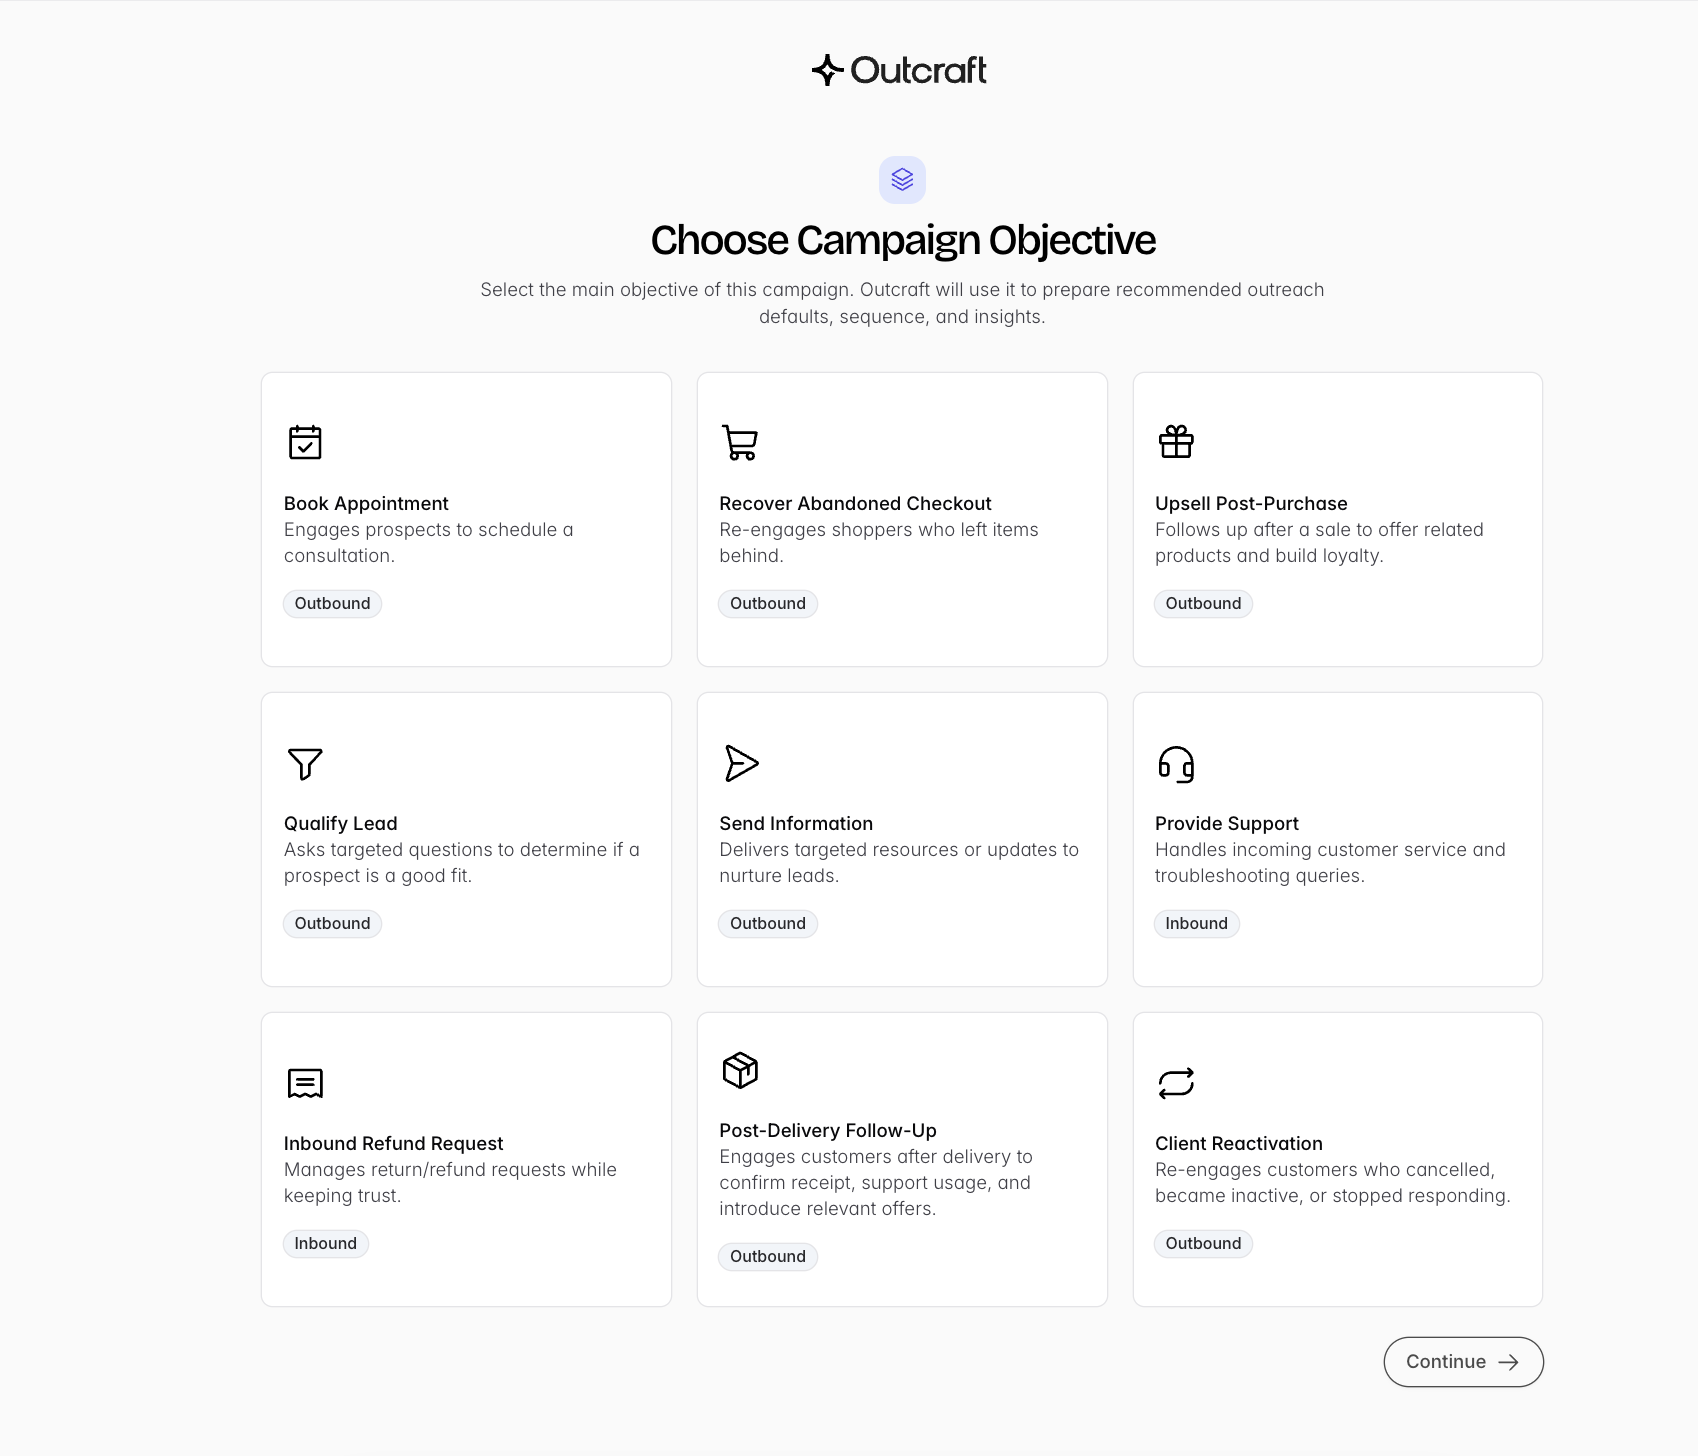
Select Qualify Lead, then Continue.
2. Choose your lead source
Select one of the nine available integrations to source leads into Outcraft AI.
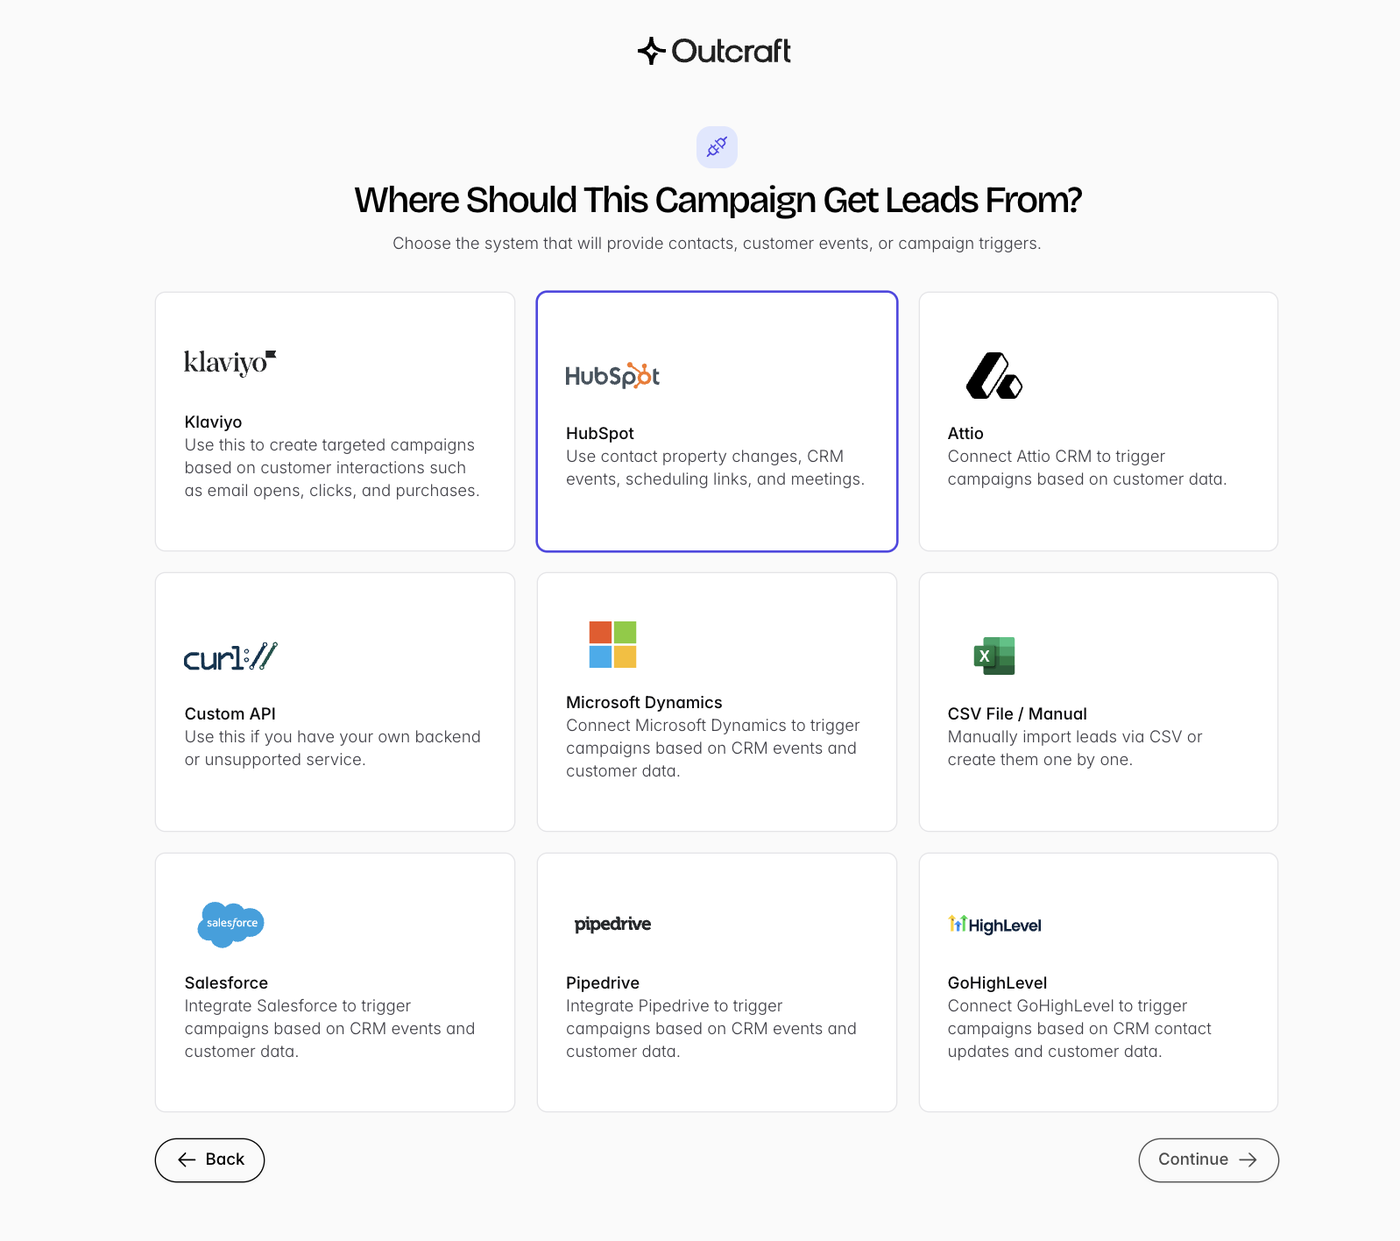
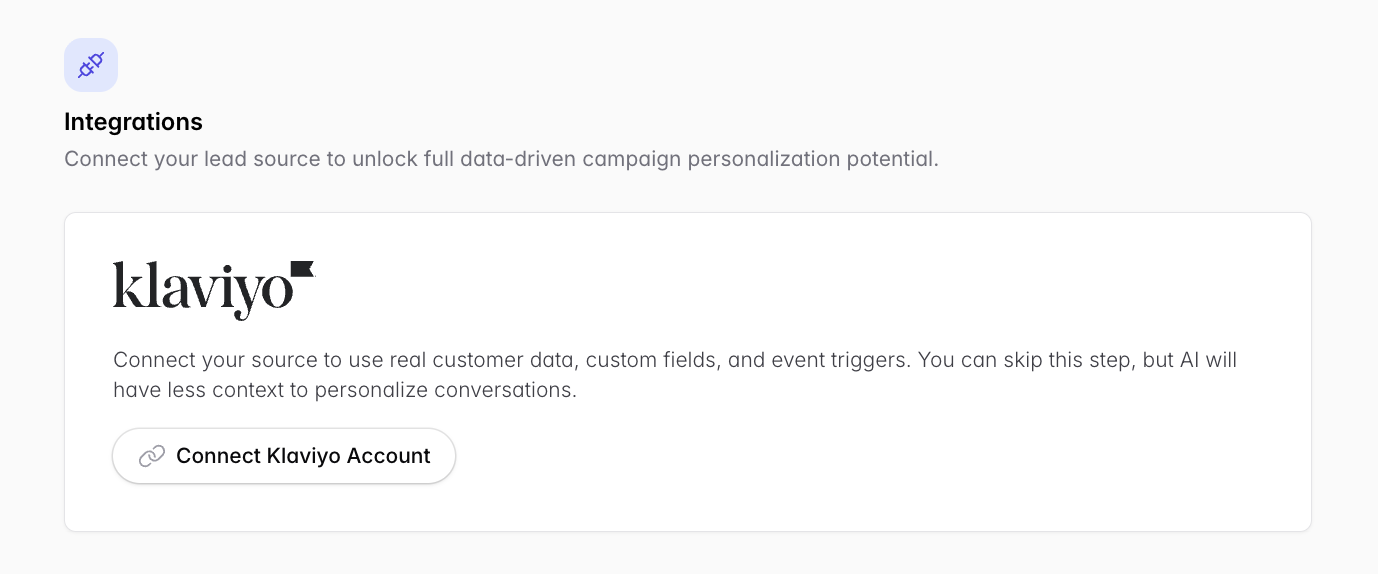
If you use HubSpot, Klaviyo, Salesforce, Attio, Microsoft Dynamics, or GoHighLevel, connect it now using Administrator permissions.
3. Set up the shared campaign steps
These steps are the same for every outbound campaign type:
Company profile (Identity, Industry, Compliance) → Setting Up Your Company Profile
Campaign Brief, Guardrails & Custom Fields → Writing Your Campaign Brief
General Settings (follow-ups, sendable links, hand-offs) → General Settings guide
Schedule → Setting Campaign Schedule
Outreach Channels → Configuring Outreach Channels
Outreach Sequence & Follow-Ups → Building Your Outreach Sequence
Interaction Evaluations → Setting Up Interaction Evaluations
AI Agent configuration → AI Agent Configuration
Phone numbers → Adding Phone Numbers
Email accounts → Connecting Email Accounts
4. Qualification questions (unique to this campaign type)
These are the questions the agent asks to determine whether a lead meets your qualification requirements. Ask as many as needed — but the more questions, the longer the call.
To add a question, click + Add Qualification Question.
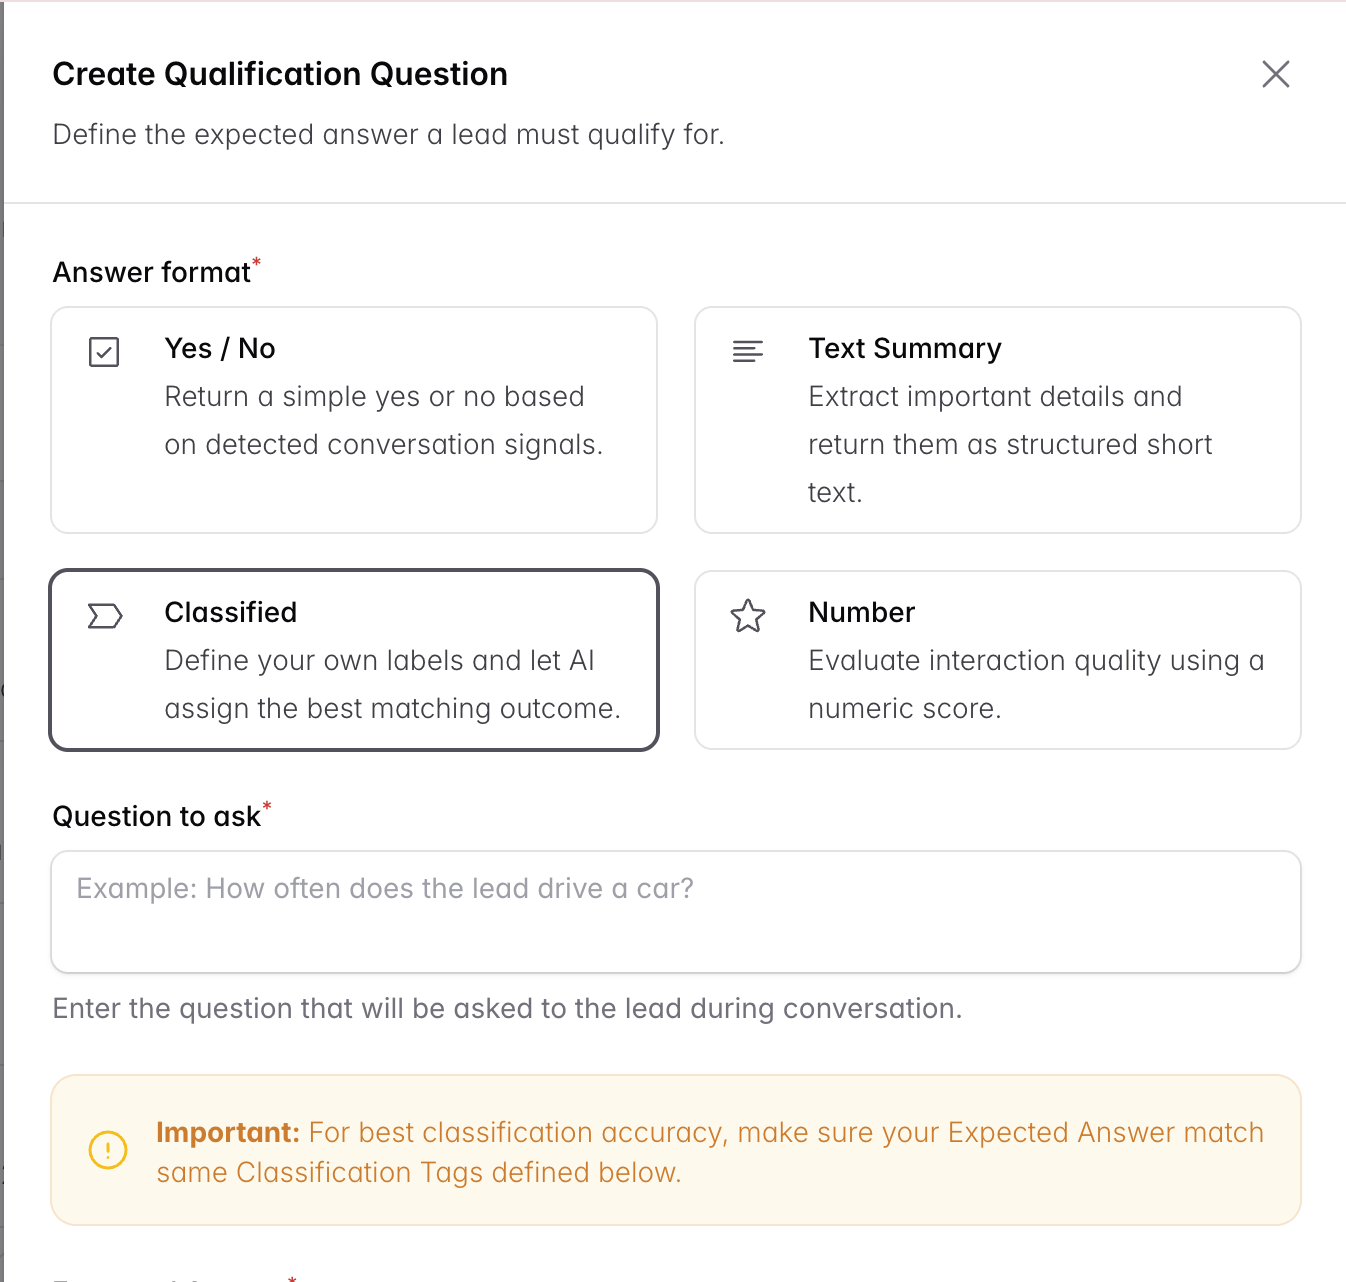
Four question types are available:
Yes/No — a boolean question for the agent to resolve. Example: “Does the lead have an extra room in their home?”
Text Summary — a free-text summary of the lead’s answer. Set a maximum character count for the summary. Example: “What kind of car does the lead drive?”
Classified — tags and labels for data tracking, easily pulled via the Outcraft API. Add non-numerical values as classification tags. Example: “How often does the lead drive their car?” → Daily / Once a week / Once a month
Number — a numerical answer. In the expected answer field, provide the number that qualifies the lead. An optional number scale can be added. Example: “On a scale of 1 to 10, how satisfied are you with your current car?”
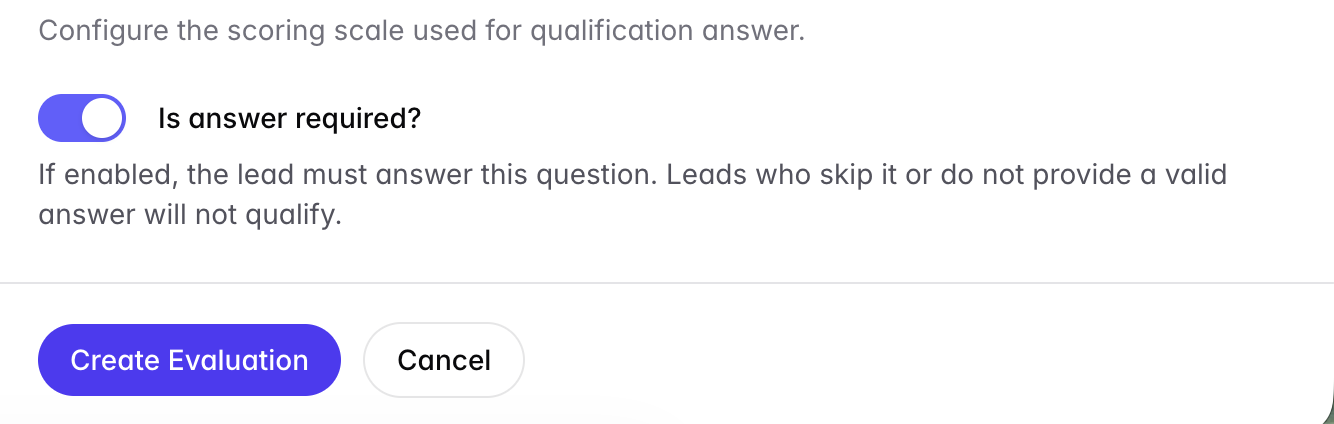
Note: every question has an “Is answer required?” toggle. If a required question is not answered, the lead cannot be qualified.
5. Configure your lead source
Klaviyo → Using Klaviyo Flows as a Lead Source
HubSpot → Using Hubspot as a Lead Source
GoHighLevel → Using GoHighLevel as a Lead Source
Custom API → Using the Custom API as a Lead Source
CSV upload → Adding Leads Manually & Importing via CSV
6. Review & launch
Once everything above is set, click Review and Publish.

7. Viewing qualification answers
Once your campaign is live and leads are flowing in:
Go to Leads Management: app.outcraft.ai/leads
Select Interactions at the top: app.outcraft.ai/outreach
In the filter, type “Engaged (Human Interacted)”.
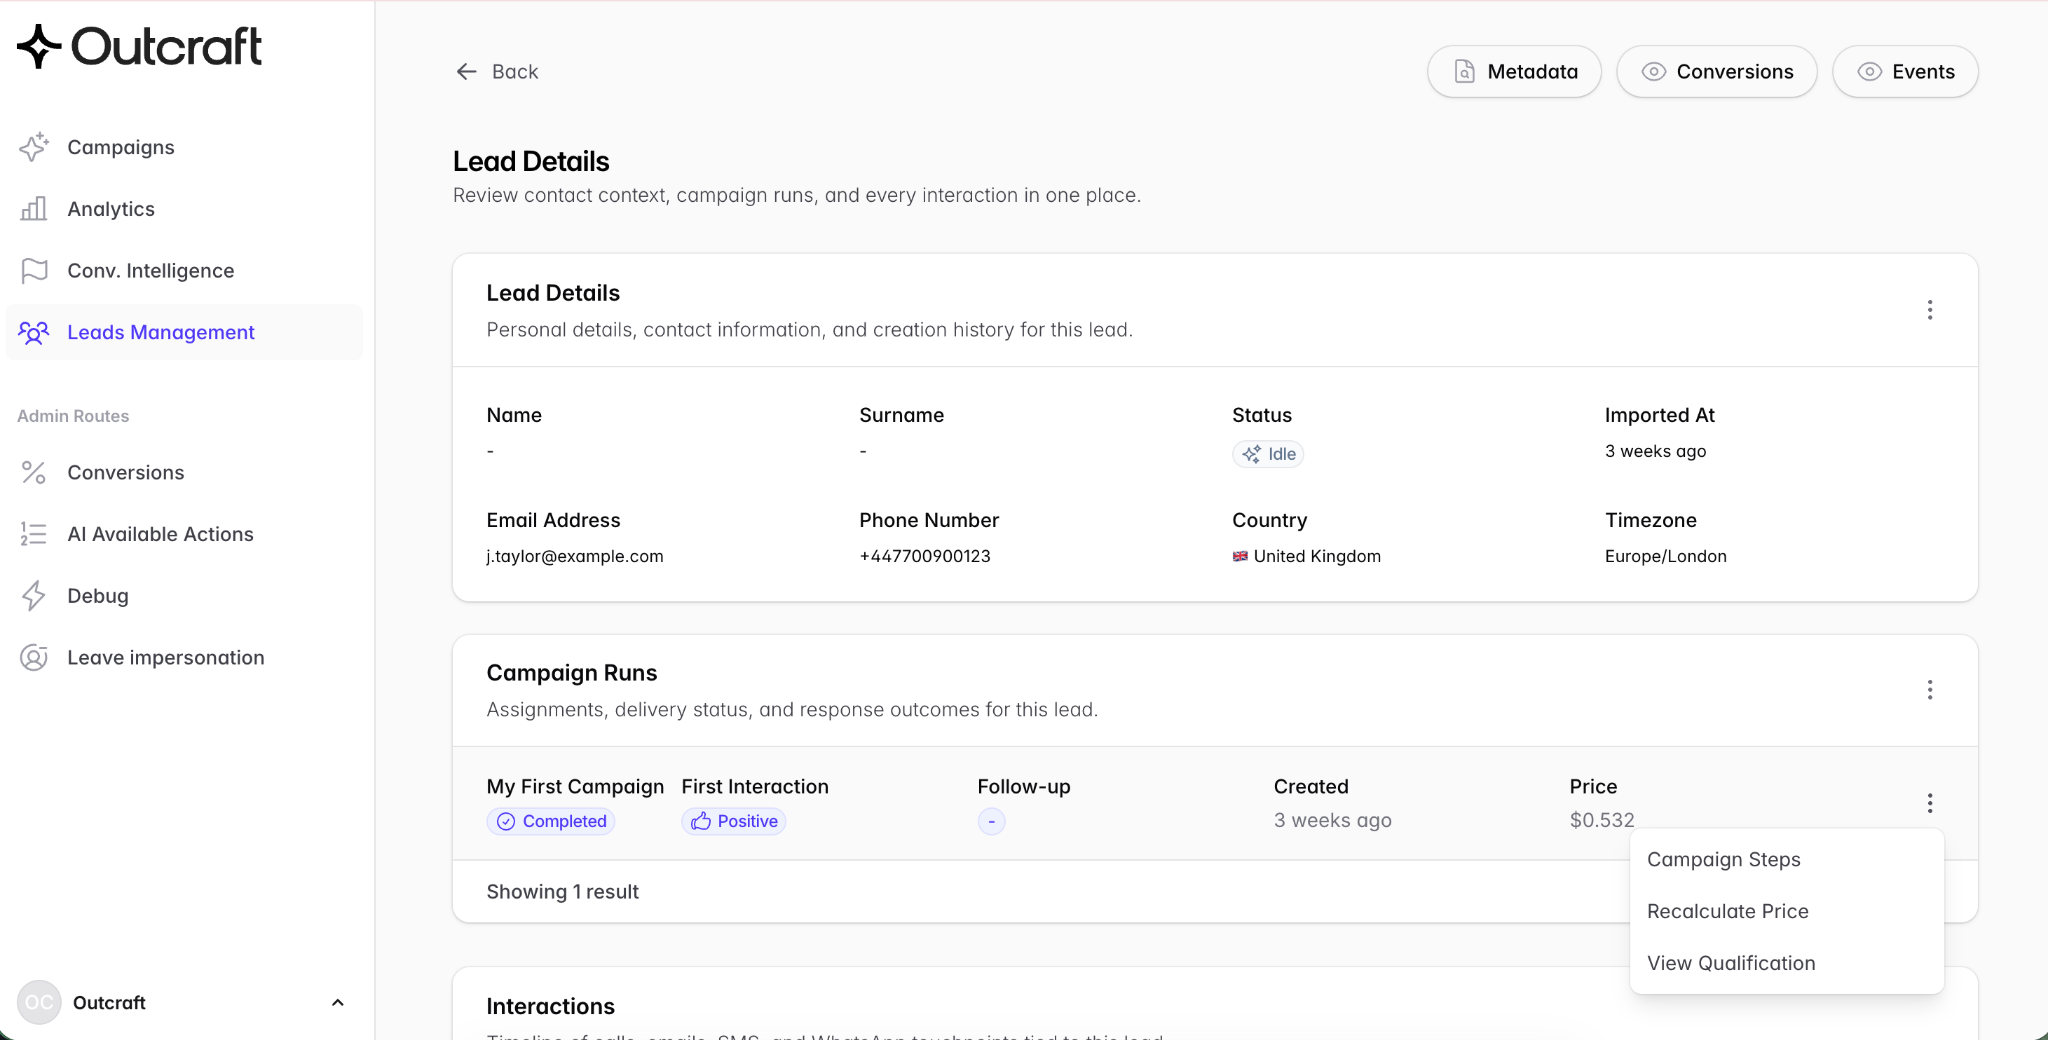
Click anywhere on a lead’s row to open it.
Click the three vertical dots on the row where your campaign is listed.
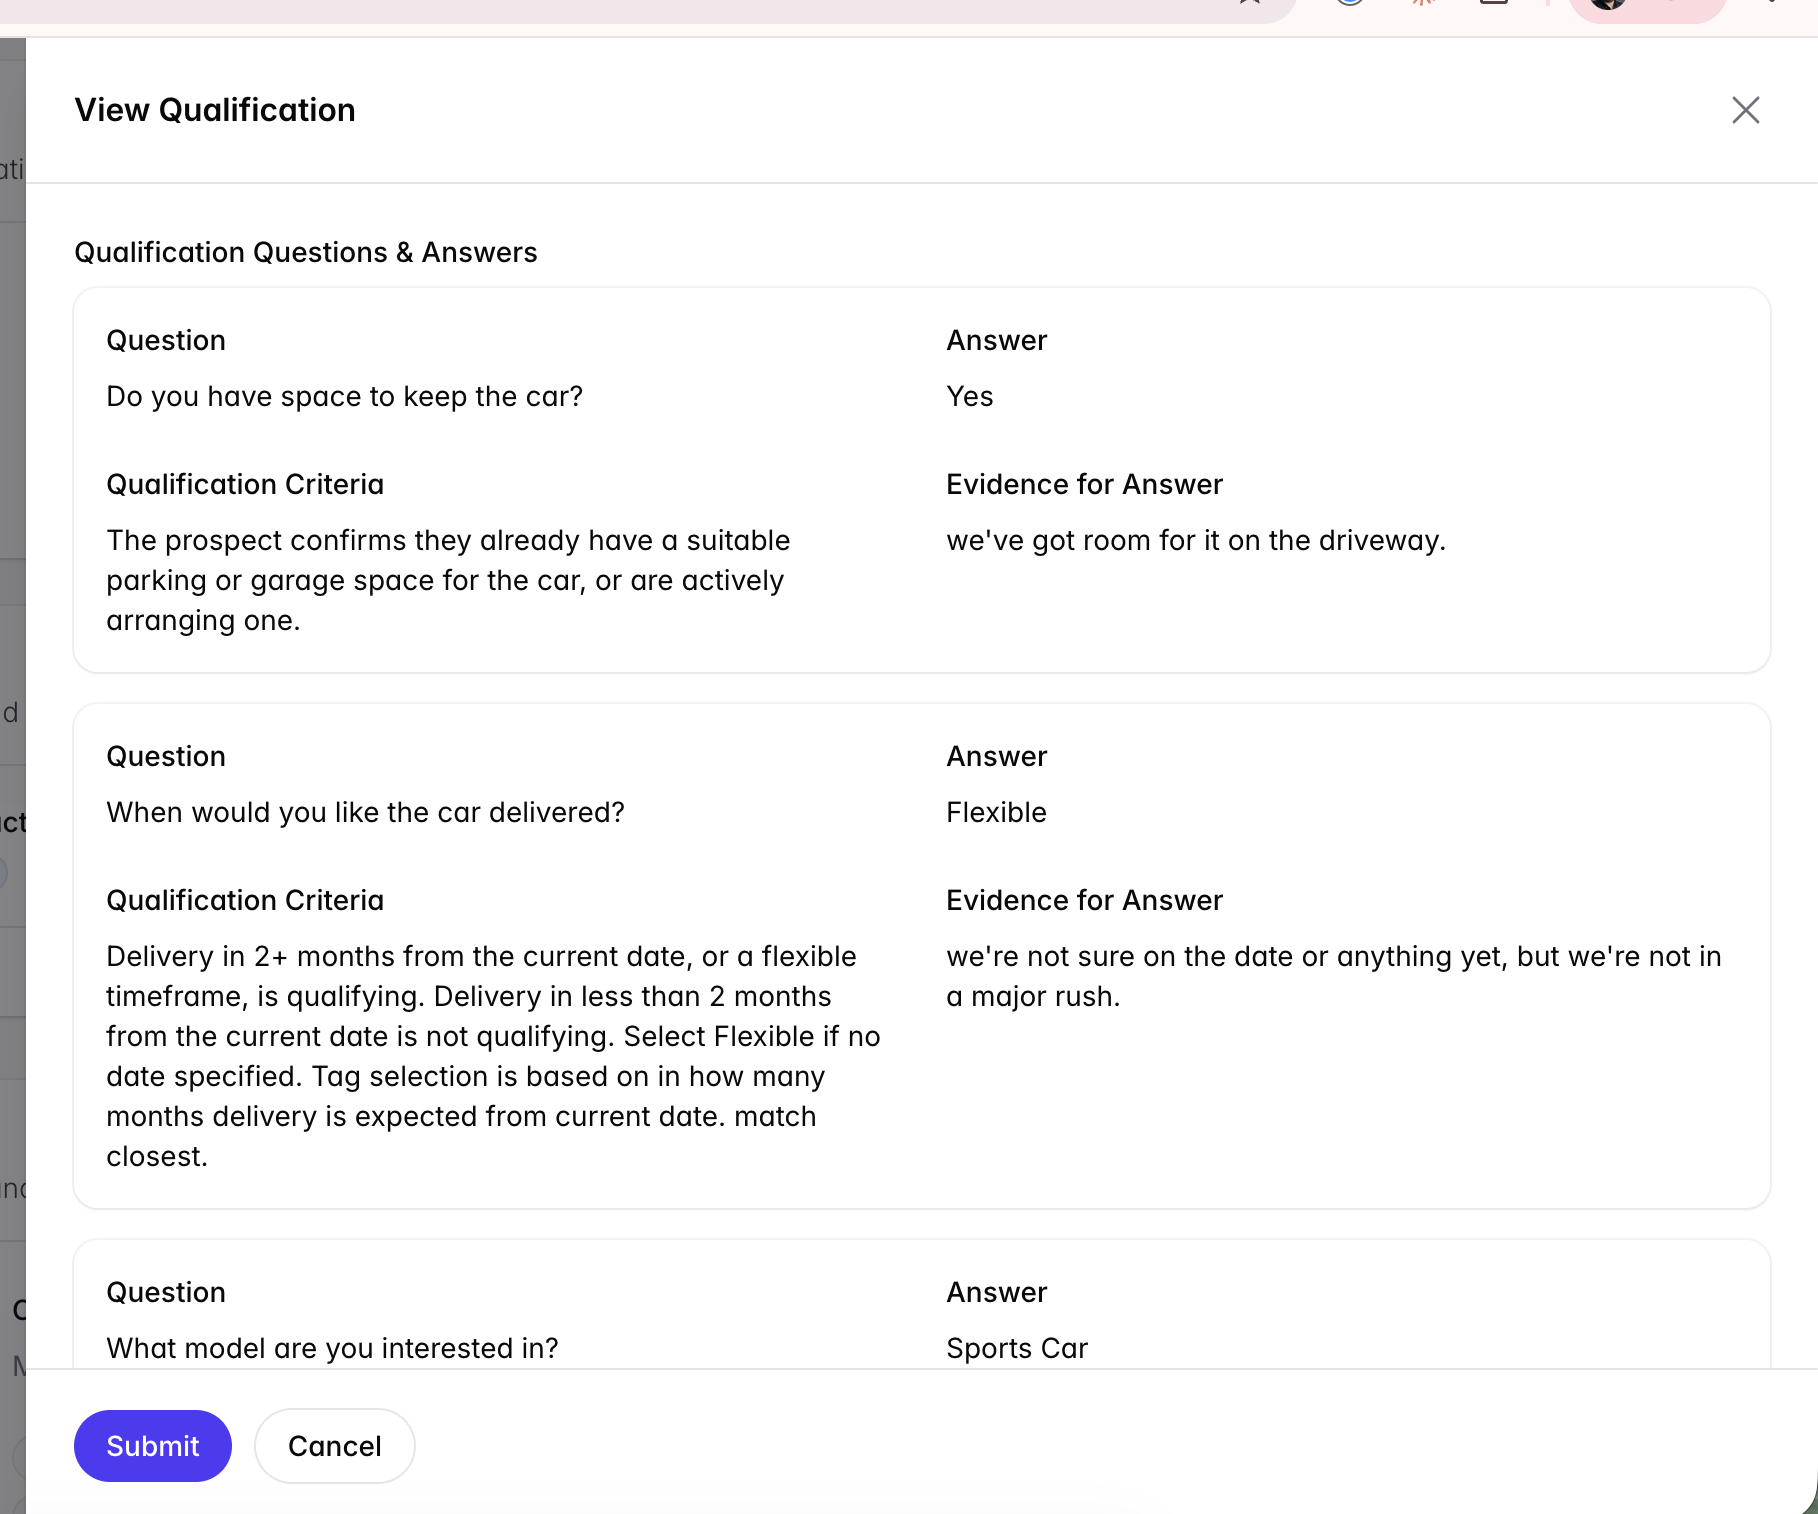
Select View Qualification.
Review the statistics.
To pass qualification data back to your data source, see the API documentation.