Book Appointment: Campaign Setup Guide
Last updated: July 15, 2026
Prerequisites
An Outcraft AI account you can create or edit campaigns in
A calendar service account — HubSpot, Calendly, or GoHighLevel — and the meeting link you’ll use for this campaign
Administrator permissions on your lead source (HubSpot, Klaviyo, Salesforce, Attio, Microsoft Dynamics, GoHighLevel, Custom API, or a CSV of leads)
Admin access for the sending mailbox (Google Workspace admin, Microsoft 365 admin, or IMAP credentials)
The Book Appointment campaign type is designed for Sales, Customer Success, and Partnership teams to engage potential and existing customers by booking a meeting with a specific person.
Outcraft can check calendar availability while on the phone with a lead to directly book an appointment, share availability, and send booking links via SMS, Email, or WhatsApp.
1. Create the campaign
Log in and go to app.outcraft.ai/campaigns.
Click + Create New and type a name for your campaign.
Select Create New Company, then Create.
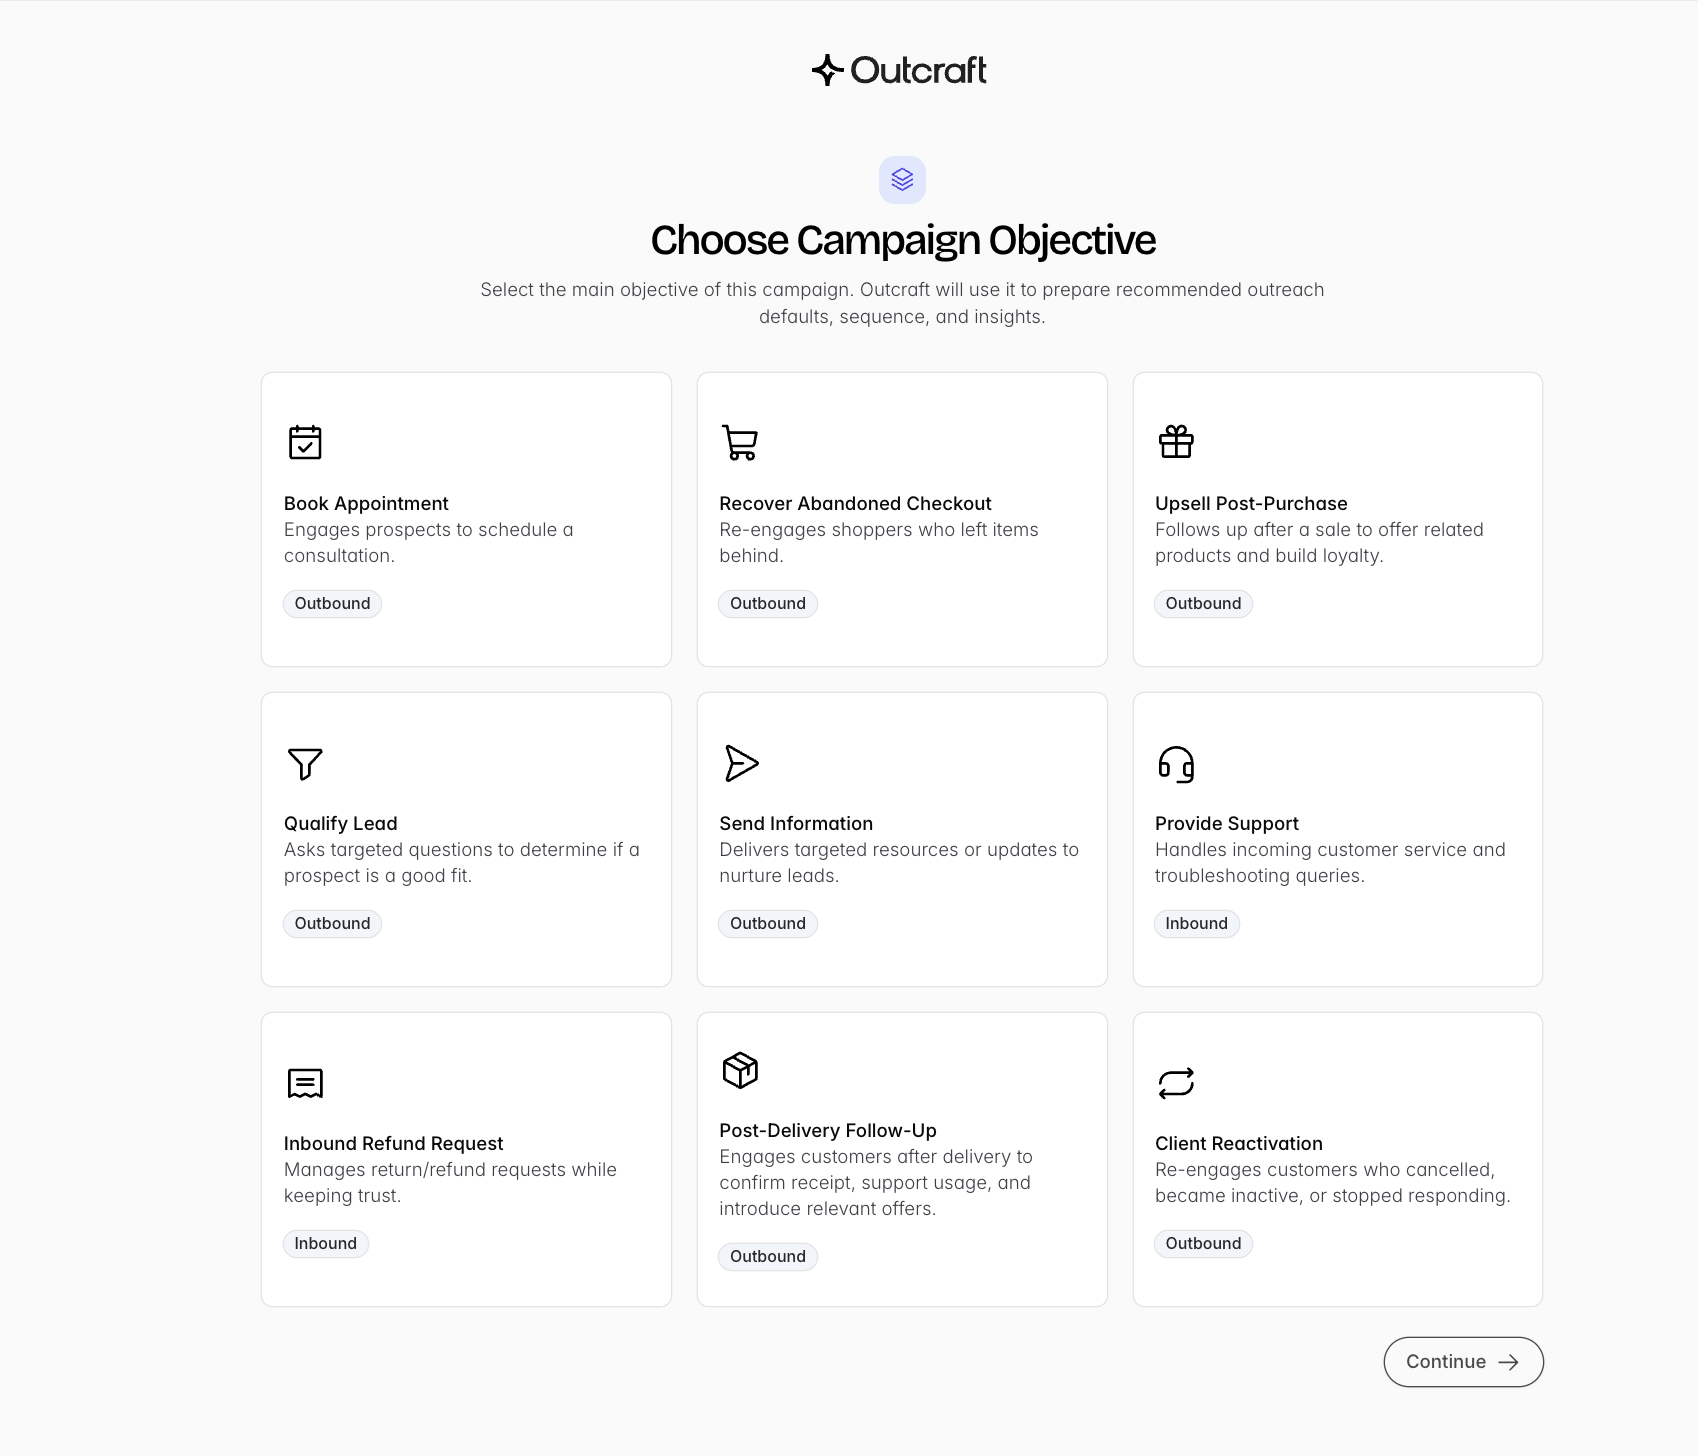
Select Book Appointment, then Continue.
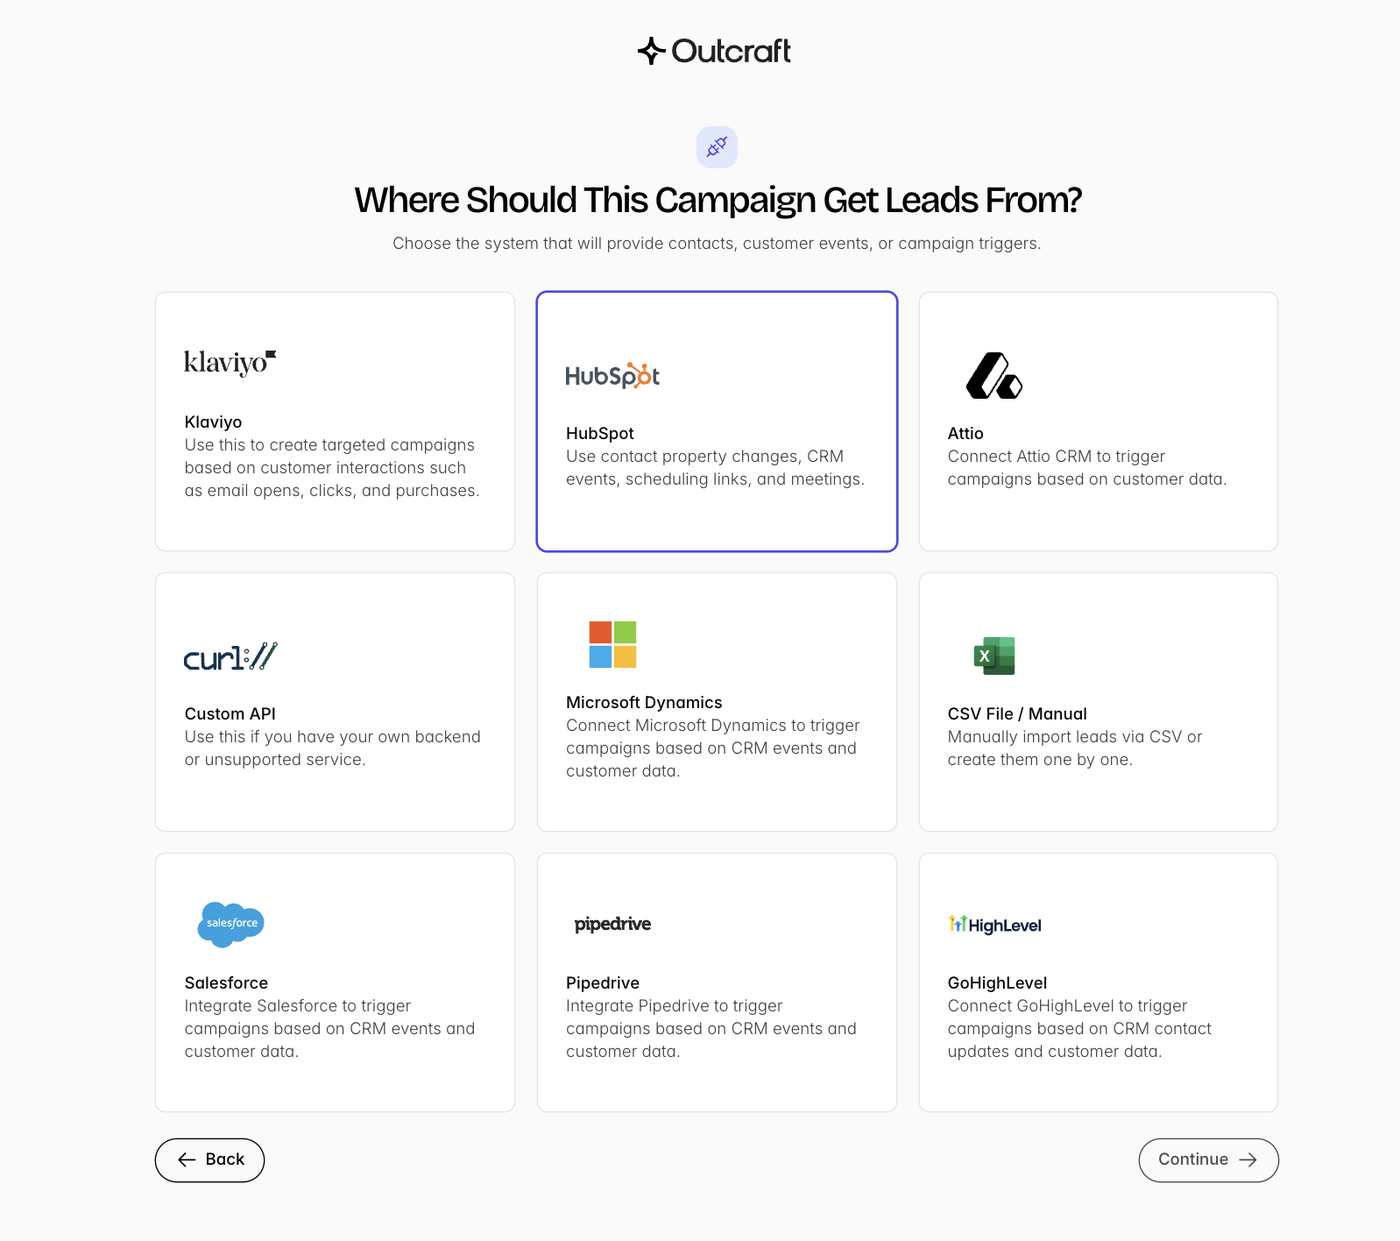
2. Choose your lead source
Select one of the nine available integrations to source leads into Outcraft AI.
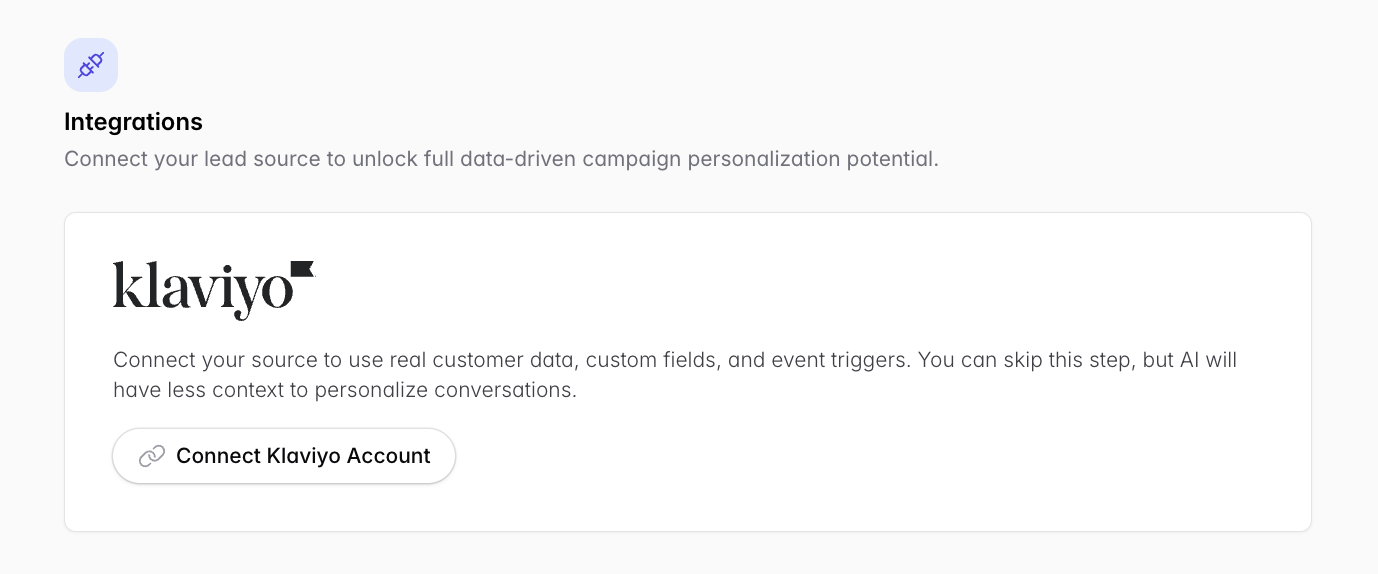
If you use HubSpot, Klaviyo, Salesforce, Attio, Microsoft Dynamics, or GoHighLevel, connect it now using Administrator permissions.
For API documentation, see developers.outcraft.ai/docs.
3. Set up the shared campaign steps
These steps are the same for every outbound campaign type. Follow each linked guide, then come back here:
Company profile (Identity, Industry, Compliance) → Setting Up Your Company Profile
Campaign Brief, Guardrails & Custom Fields → Writing Your Campaign Brief
General Settings (follow-ups, sendable links, hand-offs) → General Settings guide
Schedule → Setting Campaign Schedule
Outreach Channels → Configuring Outreach Channels
Outreach Sequence & Follow-Ups → Building Your Outreach Sequence
Interaction Evaluations → Setting Up Interaction Evaluations
AI Agent configuration → AI Agent Configuration
Phone numbers → Adding Phone Numbers
Email accounts → Connecting Email Accounts
4. Booking settings (unique to this campaign type)
This is the step that makes a Book Appointment campaign work.
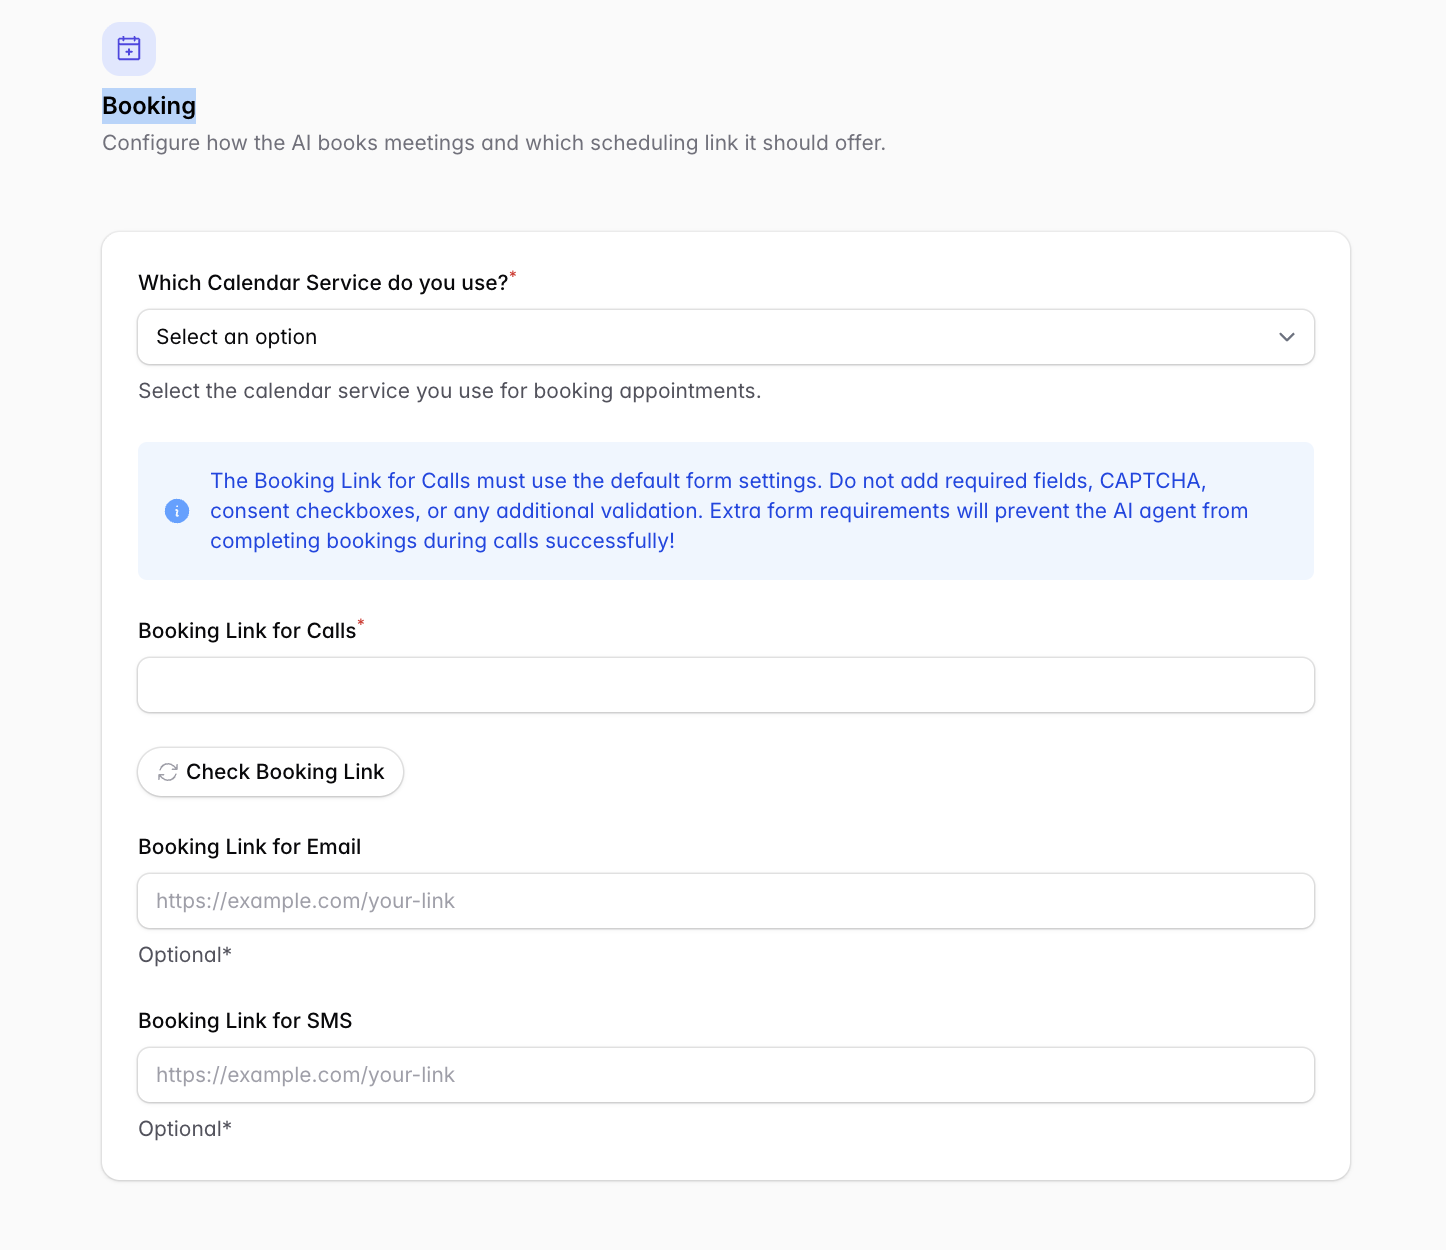
Select your Calendar service from the dropdown. HubSpot, Calendly, and GoHighLevel are currently supported.
Connect your preferred service.
Paste the meeting link for this specific campaign into Booking Link for Calls.
This field is required even if you are not enabling phone calls for this campaign.
Add a booking link for Email and SMS.
If left blank, the agent won’t be able to send booking links as follow-ups.
Click Check Booking Link to confirm it is configured correctly.
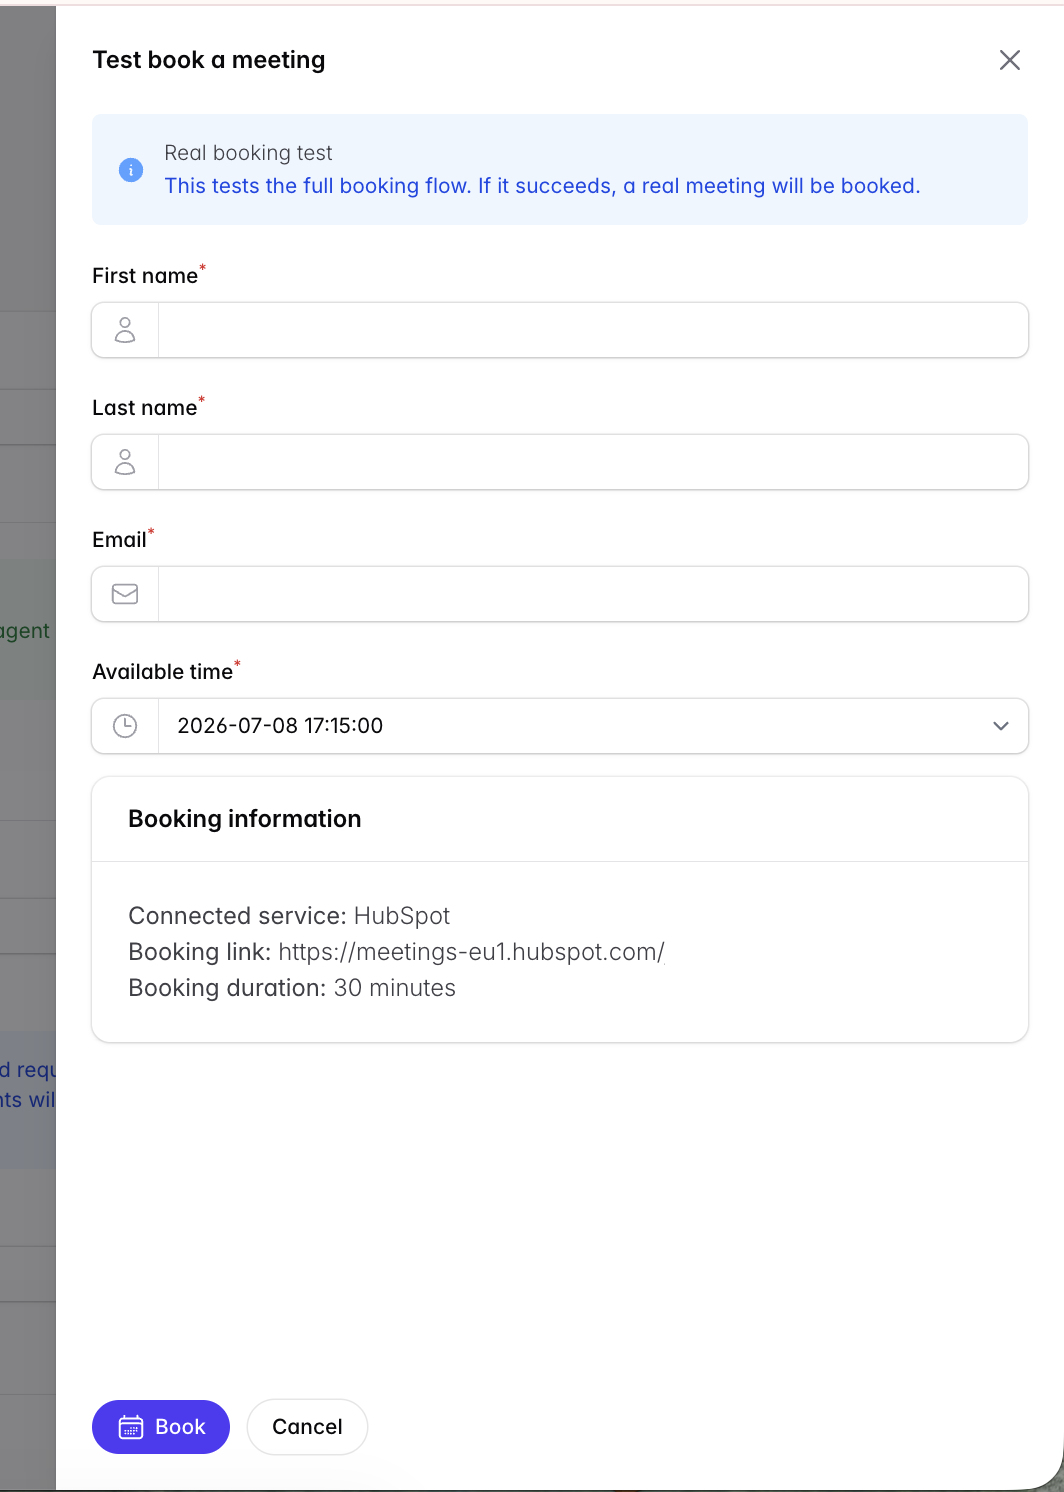
Once the calendar is connected, you can click Test book a meeting.
Watch out: Test book a meeting books a real meeting. Make sure you have access to the calendar you are testing.
5. Configure your lead source
Klaviyo → Using Klaviyo Flows as a Lead Source
HubSpot → Using Hubspot as a Lead Source
GoHighLevel → Using GoHighLevel as a Lead Source
Custom API → Using the Custom API as a Lead Source
CSV upload → Adding Leads Manually & Importing via CSV
6. Review & launch
Once everything above is set, click Review and Publish.